Showing posts with label Floating Row Covers. Show all posts

4.29.2015

Simply for the joy in seeing them grow


The LORD will guide you always; he will satisfy your needs in a sun scorched land and will strengthen your frame.  You will be like a spring whose waters never fail.  
Isaiah 58:11 

Honestly its been a very challenging year and I have not been able to dedicate the same amount of time and attention to the garden as years past.  The amazing part is despite my lack of ability to keep up the garden is still flourishing. All the praise goes to God for those details!  

This is my favorite time of the year and I love to see the seeds we planted start to grow!  I always find it incredible that I am able to be a part of this process. 

Its still early and in the next couple of weeks (before May 15th) we will be finishing our planting.  Inside I still have eggplant, coleus, inpatients and snapdragons that I need to harden off so they can be planted outside.  

(FRUITING) RAISED BED #1

Peas growing vertically
We planted our peas on March 17th then planted the Kale (started indoors), Spinach and Lettuce on April 12th.  I simplified things and only started a few seeds indoors. 
Peppers & Tomatoes (peas in background)


I ordered peppers and tomatoes online and they arrived today! I was able to plant them outside because they are under our winter row covers. Check out one of my past posts if you are interested in using row covers

(LEGUMES)  RAISED BED #2
Bush Peas 

 (ROOT) RAISED BED #3 
Herbs, Onions & Garlic
  (LEAVES/FLOWERING) RAISED BED #4
Lettuce, Spinach, & Kale
This is our first year growing Kale.  My goal is to try another planting in the fall.
Kale
I was able to catch a beautiful sunset on camera and am looking forward to seeing another one this summer. Until the next post enjoy digging in the dirt!

6.16.2014

Unveiling the Raised Beds

I found the first bloom of the season on a Zucchini plant.  That meant it was time to remove the row covers.  Unless I have time to hand pollinate them (which I don't) the bees need to be able to get to the plants for pollination.  At this point the plants are healthy and mature enough to handle most of the pests that will come along.  So let the unveiling begin!
All four beds in a row.  Plants are happy and healthy!
Flowers are growing fast in the 2 front beneficial garden beds. Blooms to come soon!
BED #1- Parsley, Asparagus & Summer Squash
I have kept the row cover on the Asparagus bed because they don't need to be pollinated.  Its also challenging to hand pick all the Asparagus Beetles that land on these plants.  Unfortunately I discovered that the Asparagus Beetles overwinter in the soil so I am already battling them. I have to admit I am disappointed that this has happened again this year.  I have tried dusting them with bone meal as well as spraying them with a homemade garlic spray.  I still find about 10-15 per day on the plants.
Asparagus Beetle on Asparagus plant
BED #2- Zucchini, Lettuce, Onions, Tomatoes, Okra & Cucumbers

4.15.2014

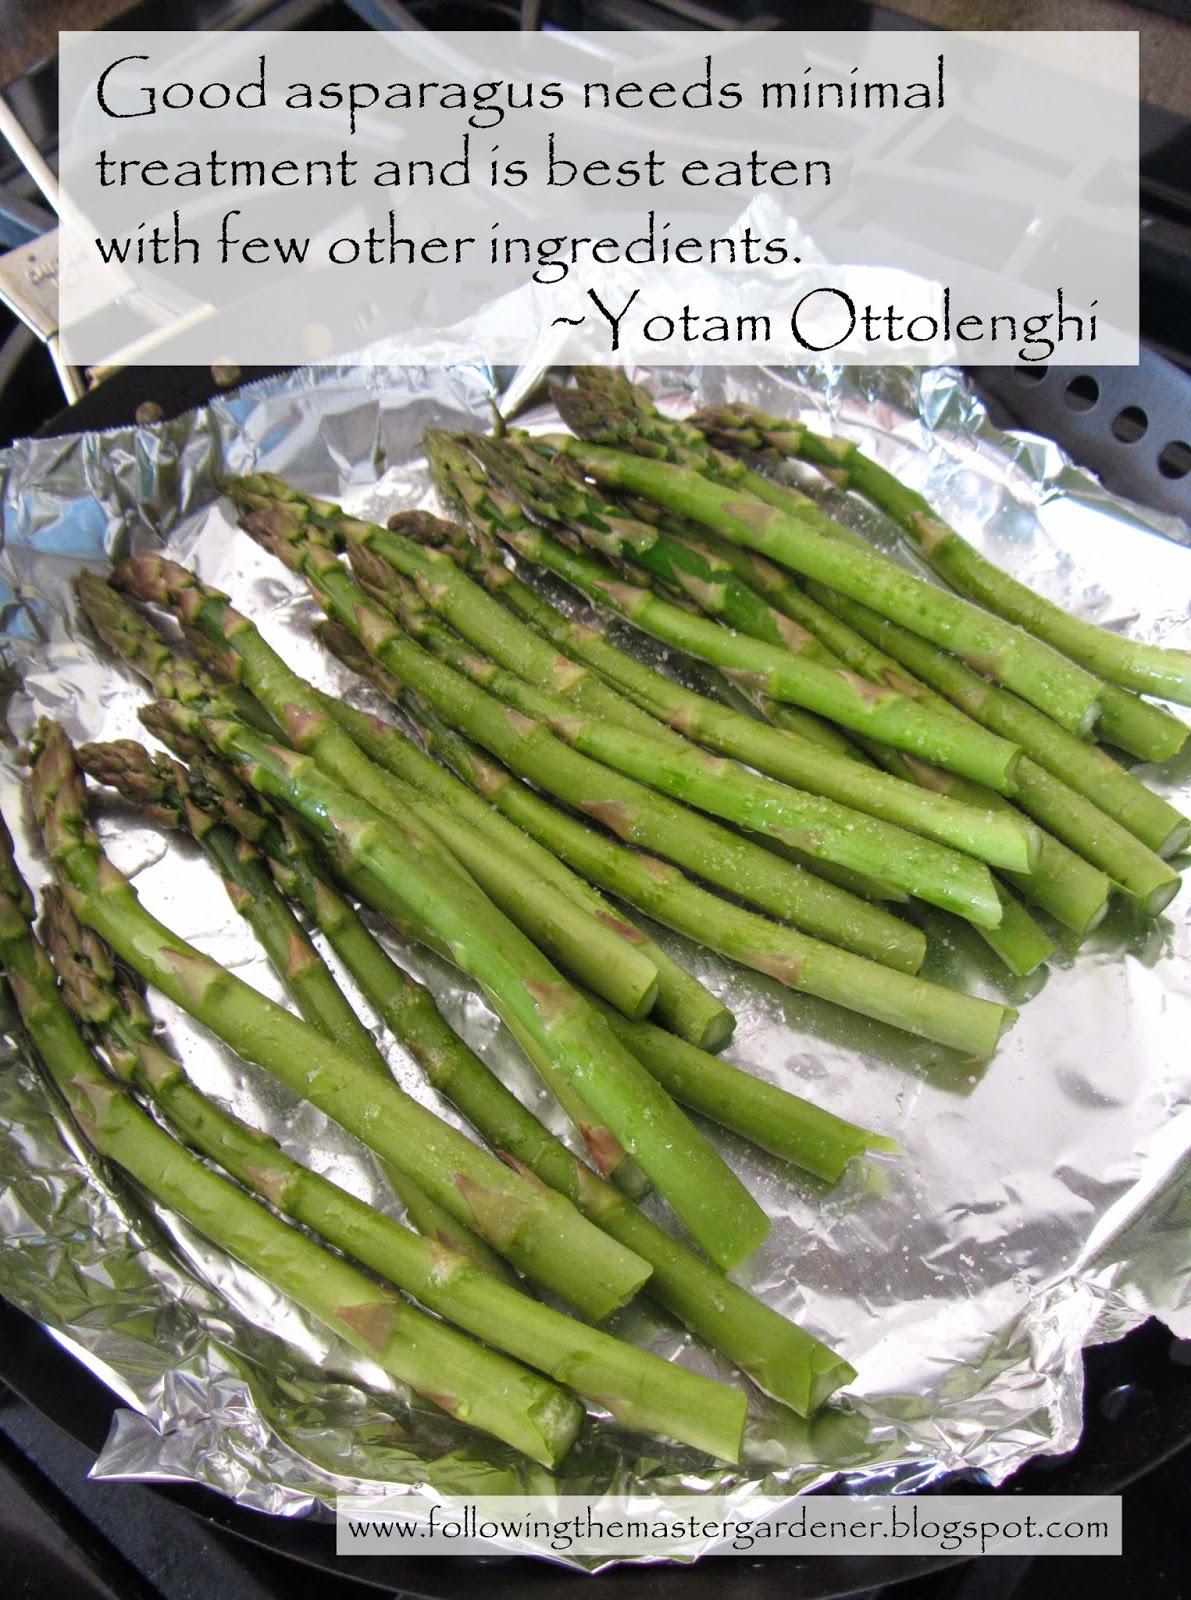
Everything Asparagus


Asparagus has been grown for thousands of years.  The Macedonians were the first to use it domestically around 200 B.C.  It is a good source of potassium, fiber, vitamin B6, vitamins A and C, thiamin and is a nutrient-dense food high in Folic Acid. 

Out of all the vegetables we have grown Asparagus has the most interesting story. For instance did you know that if you plant Asparagus properly they can produce for 15 to 20 years!  You can even grow white asparagus by simply mounding soil over your spears so they grow in the absence of sunlight.  The chlorophyll doesn't have the ability to develop so your spears stay white!  (Pictured below)
This years Asparagus spears (white in color from being covered over the winter) starting to emerge

We love to eat Asparagus so last year we decided to dedicate one of our raised beds to growing Asparagus.  They love well drained conditions and rich soil so a raised bed is ideal.    

We chose to grow Jersey Supreme which are all male cultivars known to produce 25-30% times more than conventional cultivars.  (Female plants spend lots of energy producing berries and seeds so they bear less spears). We ordered (25) certified disease free 1 year old crowns through Gardener's Supply to add to the (4) we had from a previous year.  It is said that 25 crowns are adequate for 2 people. 
Asparagus starting to grow
(May 7th of last year)
HARVESTING:
Year One: Asparagus should not be harvested the first year after you plant them.  They need all their energy to develop a healthy crown during the first season.  You can see below that last year we left them alone.  They look almost fern like when they grow.  


Asparagus with "fern" growth 
(May 25th of last year)
Year Two: Some research suggests you can harvest them for 2 weeks the second year. Picking 2 or 3 of the thickest spears from each crown. Others suggest waiting until the third year. 
Year Three: Harvest all spears for 4 weeks. 
Year Four: Harvest for as 8 to 12 weeks.  Stop harvesting when half of the spears are less than the thickness of a pencil. 

TIPS FOR PLANTING:
1. Plant as soon as you purchase them.  In 50 degree soil in the Spring.  Dig a 6" trench and add a high phosphate fertilizer (we used bone-meal).  
2. Plant (1) per 12 x 12 square. Laying the crowns up and covering with 2 inches of soil. 
3. Allow the fern to grow all season keeping the plants well watered. Cut to 12" tall when ferns die naturally in the fall.   

MAINTENANCE:
1. The year after planting cut the old ferns to the ground.  Add lime and 5-10-10 per 100 sq. feet.  

Lime added to bed this year
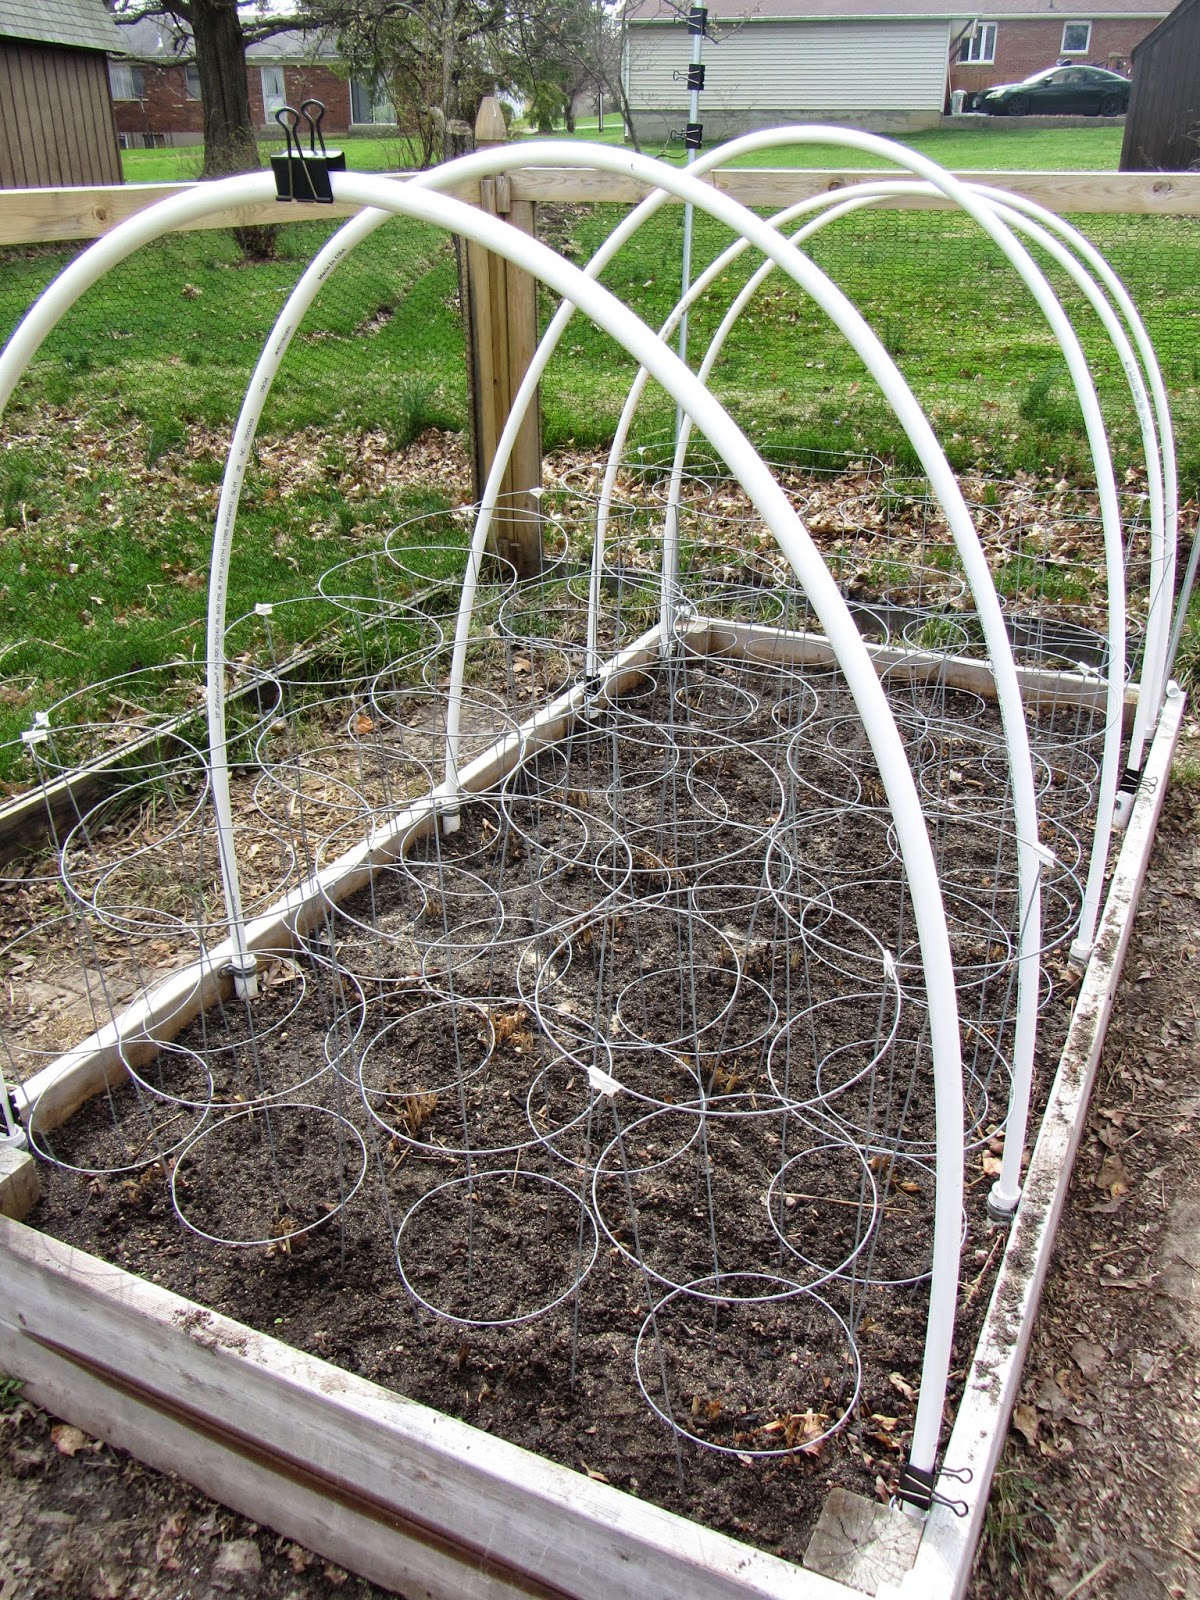
2. We add tomato cages over each crown to help contain the Asparagus ferns.  
Adding tomato cages
3. Then I add the PVC hoops for our row covers.  
Adding PVC hoops to bed

4. Last I put on the row cover fabric. 
Adding the Summerweight Fabric to the PVC hoops to complete the row cover!
I HIGHLY recommend using row covers to keep out Asparagus Beetles. You can read more about row covers in this post I wrote last year:Using Winter Row Covers

Unfortunately I hand-picked at least 20 beetles off the plants each day last year and that was frustrating.  Asparagus Beetles can damage your plants and affect production.  This year I made the row cover taller so it can stay on all year and then we can keep the Asparagus Beetles (see below) from the plants!

COMPANION PLANTING:
I also plant Parsley in the front of the Asparagus bed.  It helps with plant vigor and I was amazed at how well the Parsley produced at the same time!  I harvested the Parsley five times last year.  We start our Parsley indoors from seed and then transplant them in the garden.  They may look like tiny seedlings but they take off fast!
Parsley seedlings (2014)
Parsley growing well in Asparagus bed (last year 2013)
So far we have Garlic, Onions, Lettuce, Parsley & Asparagus growing in the garden.  Good thing these are all cold weather crops.  Just in case I covered the beds with row covers and I am certainly glad because I woke up to find snow on the garden this morning! 

4.09.2014

Civilization without Onions?


I have to agree with Julia Child, "It's hard to imagine civilization without onions."  In our household I cook with onions all the time.  They add amazing flavor and taste to dishes.  I discovered that onions have been grown for at least 5000 years or more. They are easy to grow, transport and like a variety of soils and climates. They provide fiber and are high in vitamin C along with other great health benefits. 
This will be the third year that we have grown onions in our garden.  However, this is the first year we have started them from seed indoors instead of buying onion sets at the garden center. We planted the seeds in flats on March 2nd then placed them under grow lights.  (Start them 9-10 weeks before your Frost Free Date). 
Yellow Sweet Spanish Onions (started from seed)
This year we chose Yellow Sweet Spanish.  They are a reliable producer and popular for their sweet flavor.  Known as a long day onion they need 15 hours or more of sunlight and are best grown in the North.  They can be used as a bunching onion which is really nothing more than a young onion planted from seed harvested 30 days after planting (also known as scallions or green onions).  They mature to a one pound globe shaped onion in 95-100 days. 

The week before planting I started by hardening off the seedlings. You can read more about this process by reading my previous post here: Hardening off Seedlings


This past Sunday it was time to plant our onion transplants! Our garden plan for this year is drawn below.  I decided to plant onions in Bed #2 & #4 this year.  I also planted lettuce in Bed #4 that same day. 

2014 Garden Layout
BED #4: Ready for Onions & Lettuce
The easiest way to get the seedlings out of the tray was to use a plastic spoon which scooped them out without destroying the plant.  I planted 9 seedlings per 12" x 12" square using the Square Foot Garden Method.  
Planting seedlings using a plastic spoon 
Seedlings planted!
BED #2:(on left) Planted with 36 Onion seedlings.
 After planting the seedlings I then cover the raised bed with row cover fabric (pictured below) to give the seedlings extra protection from insects, squirrels and frost.  
BED #4:(on right) Currently planted with 19 Garlic, 36 Onion seedlings & 42 Lettuce seedlings.
CARING FOR ONIONS: 
1. Keep soil consistently moist until bulbs enlarge. One inch of water per week (more for sweet onions). Keep in mind that onions will look healthy even if they are bone dry. When tops start to fall over withhold water. 

2. Cover with a layer of mulch.

3. Fertilize every few weeks with nitrogen for large bulbs. Stop when onions push soil away and bulbing process has started. 
Our harvested Onions last year (along with other veggies)
ONION PROBLEMS:
1. If an onion sends up a flower stalk cut it from the plant immediately or the bulb will be reduced. (From our pictures below you can see that this happened to us last year) That must be why our onions only grew to about 1/2" round. 

2. In May or June onions are sometimes attacked by the onion fly.  You can protect your crop with row covers.  
April 8th 2014
Next week I will plant the Parsley and 2 weeks later Carrots!

9.18.2013

Using Winter Row Covers

Winter Row covers to the rescue!
I had never heard of "Floating Row Covers" before researching them last year.  I can officially say after a year of using them in our garden that I highly recommend their use.  

First "Floating Row Covers" are simply a special type of fabric that you use to cover your plants.  I say special because this fabric still allows light, water and air for your plants to grow.  There are several different types of fabric you can purchase.  This year we bought 2 different types: 
Current Garden picture (Sept 2013)

The first is  Garden Quilt Cover Fabric which allowed us to extend our growing season in Spring and we are currently using it this Fall. (This fabric protects down to 24 degrees F with 60% light transmission).

The second is Summerweight Garden Fabric this fabric protected our plants from pests in the spring and early summer.  The plants were able to grow and mature and then we removed the covers when they started flowering.  (This fabric transmits 85% light to plants with frost protection to 28 degress F).

5.01.2013

Making Floating Row Covers

As I shared in a previous post, last year we battled the squash vine borer in our garden and lost some plants (squash and zucchini) to this insect.   I knew at the end of last year that I had to find a solution.  We garden organically so I spent some time reading about different controls that would stop this insect from attacking again. 

I kept reading about Floating Row Covers in books but for some reason I had a hard time figuring out how they would work and what they would look like.  I finally did a Google search and discovered they were just a special type of fabric made out of spun fiber which you cover your plants with.  The idea is to create a barrier between the insect and plant that sunlight and water can still pass through.  Overall this seemed to be the most effective method for organic gardening. 

So this year we were ready to try out the Floating Row Covers.  Our raised beds had already been designed with 1" pieces of PVC pipe screwed inside.  We just needed to add the 1/2" pieces of PVC pipe to form the semi-circles to hold up the fabric.  

1/2" pieces of PVC pipe being added to Raised Bed
As far as the fabric goes I ordered 2 different types from Gardener's Supply Company.  The Garden Quilt fabric and then the Summer weight fabric.  I decided that would allow us the most flexibility.  The Garden Quilt fabric would allow us to start planting earlier in the spring and later in the fall (for light frosts down to 24 degrees).  The Summer weight fabric was lighter weight and would be used the rest of the season when it was warm outside. 

Once we got the fabric my next challenge was figuring out how to secure it over the raised beds. I tried earth staples that were metal and then plastic.  The strong winds ripped those out of the ground and the fabric was flapping in the breeze.  Finally I did some more research and came up with a new design using green metal plant stakes and large metal binder clips. 

I decided to share this design because it has really helped us.  Its simple to use and saves me time when tending to the plants.  It will also extend the life of the fabric because its not tearing holes in it.  Instead you just slide out the plant stakes at the end of use and fold the fabric to store for the next year.  I have also already switched from the Garden Qulit fabric to the lighter Summer weight fabric.  I just slid out the plant stakes from one type and put them in the other type of fabric which saves resources.

MATERIALS NEEDED (per raised bed):
1/2" PVC pipe cut into (5) 5 foot sections
(2) 7 ft. coated green metal plant stakes 5/8" dia.
(2) 4 ft. coated green metal plant stakes 1/2" dia. 
(10) large binder clips 
12 ft. garden fabric*

*I ordered the 6' x 50' size in both fabrics and they covered all 4 raised beds with a little fabric left over 

Step 1: Cut Fabric to 12'-3" length
Step 2: Fold both long edges of fabric over 2 1/2 inches then pin fabric. Repeat with both short sides of fabric but pin fabric over 2 inches.  All four sides should be pinned ready to sew.  See images below for more detail.
Close-up of pinned fabric
Step 3: Sew all four edges of the fabric.  See images below for detail on finishing ends.
2 inch overlap on 2 shortest ends
2 1/2 inch overlap on 2 longest ends
Step 4: Finish off the ends where the 2 sewn edges meet.
Make sure to leave opening on ends for green metal plant stakes to go through.
Remove any pins left in the fabric.
Your fabric should now look like this with all four ends of fabric sewn.
Step 5: Lay out the green metal plant stakes.
Match the two longest stakes to the longest sides of he fabric and
the two shortest to the shortest sides of the fabric.
Step 6: Slide green metal plant stakes into each sewn pocket
Note: you will have extra fabric when you slide the plant stake into the pocket.  Just gather it onto the stake and then after you place it on the bed you can slide the extra fabric to the end.  Its better to have some extra for wiggle room!

Insert 1/2" PVC pipe (to form hoops) into 1" PVC already in raised bed
Add bricks (or other weight) to ends
Gather extra fabric at edge
Gathered fabric
Clip with large binder clip and push down toward green metal plant stake.
Make sure green metal plant stake is secured under binder clip. 
The floating row covers can be left in place all year if you are growing root crops (such as carrots, turnips, and onions) or leafy greens.  If the crops need to be pollinated to produce (beans, squash, eggplant, tomatoes and others) you will either need to remove the row covers when they start to flower or pollinate by hand.