
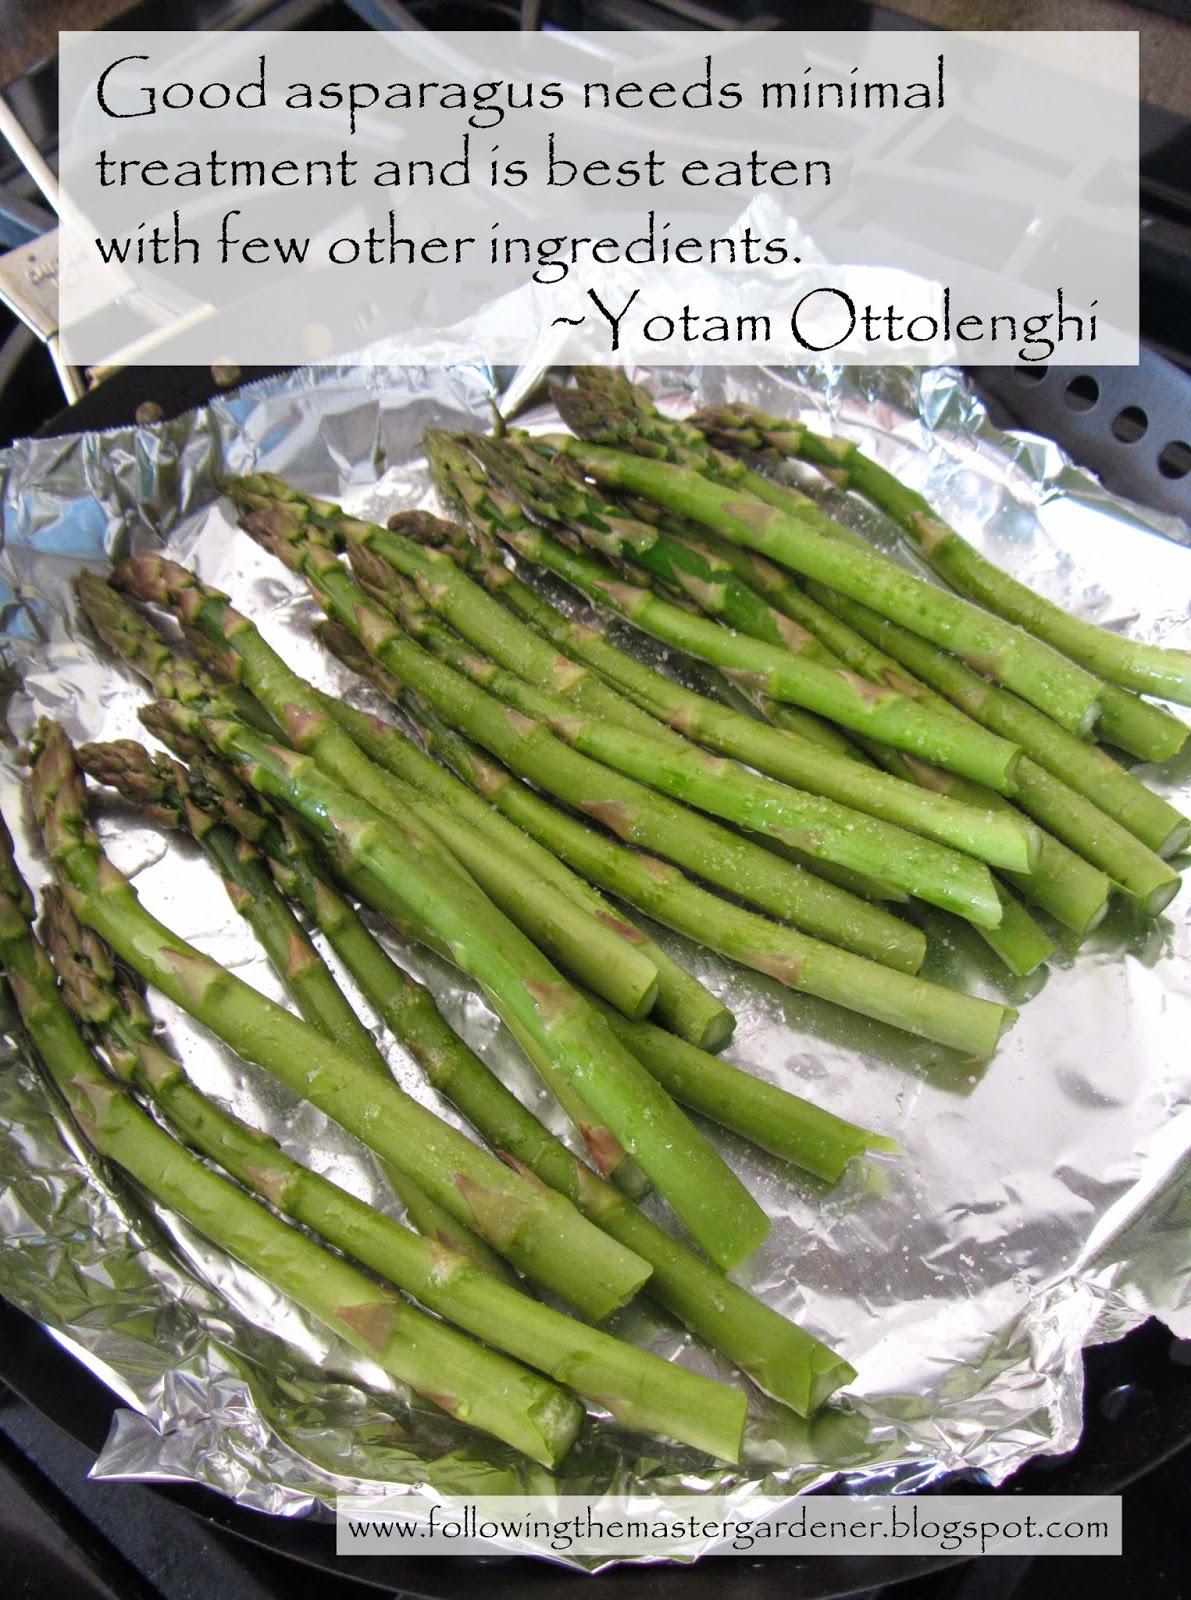
Asparagus has been grown for thousands of years. The Macedonians were the first to use it domestically around 200 B.C. It is a good source of potassium, fiber, vitamin B6, vitamins A and C, thiamin and is a nutrient-dense food high in Folic Acid.
Out of all the vegetables we have grown Asparagus has the most interesting story. For instance did you know that if you plant Asparagus properly they can produce for 15 to 20 years! You can even grow white asparagus by simply mounding soil over your spears so they grow in the absence of sunlight. The chlorophyll doesn't have the ability to develop so your spears stay white! (Pictured below)
We love to eat Asparagus so last year we decided to dedicate one of our raised beds to growing Asparagus. They love well drained conditions and rich soil so a raised bed is ideal.
We chose to grow Jersey Supreme which are all male cultivars known to produce 25-30% times more than conventional cultivars. (Female plants spend lots of energy producing berries and seeds so they bear less spears). We ordered (25) certified disease free 1 year old crowns through Gardener's Supply to add to the (4) we had from a previous year. It is said that 25 crowns are adequate for 2 people.
Out of all the vegetables we have grown Asparagus has the most interesting story. For instance did you know that if you plant Asparagus properly they can produce for 15 to 20 years! You can even grow white asparagus by simply mounding soil over your spears so they grow in the absence of sunlight. The chlorophyll doesn't have the ability to develop so your spears stay white! (Pictured below)
 |
| This years Asparagus spears (white in color from being covered over the winter) starting to emerge |
We love to eat Asparagus so last year we decided to dedicate one of our raised beds to growing Asparagus. They love well drained conditions and rich soil so a raised bed is ideal.
We chose to grow Jersey Supreme which are all male cultivars known to produce 25-30% times more than conventional cultivars. (Female plants spend lots of energy producing berries and seeds so they bear less spears). We ordered (25) certified disease free 1 year old crowns through Gardener's Supply to add to the (4) we had from a previous year. It is said that 25 crowns are adequate for 2 people.
 |
| Asparagus starting to grow (May 7th of last year) |
Year One: Asparagus should not be harvested the first year after you plant them. They need all their energy to develop a healthy crown during the first season. You can see below that last year we left them alone. They look almost fern like when they grow.
 |
| Asparagus with "fern" growth (May 25th of last year)
Year Two: Some research suggests you can harvest them for 2 weeks the second year. Picking 2 or 3 of the thickest spears from each crown. Others suggest waiting until the third year.
Year Three: Harvest all spears for 4 weeks. Year Four: Harvest for as 8 to 12 weeks. Stop harvesting when half of the spears are less than the thickness of a pencil. |

TIPS FOR PLANTING:
1. Plant as soon as you purchase them. In 50 degree soil in the Spring. Dig a 6" trench and add a high phosphate fertilizer (we used bone-meal).
2. Plant (1) per 12 x 12 square. Laying the crowns up and covering with 2 inches of soil.
3. Allow the fern to grow all season keeping the plants well watered. Cut to 12" tall when ferns die naturally in the fall.
MAINTENANCE:
1. The year after planting cut the old ferns to the ground. Add lime and 5-10-10 per 100 sq. feet.
 |
| Lime added to bed this year |
 |
| Adding tomato cages |
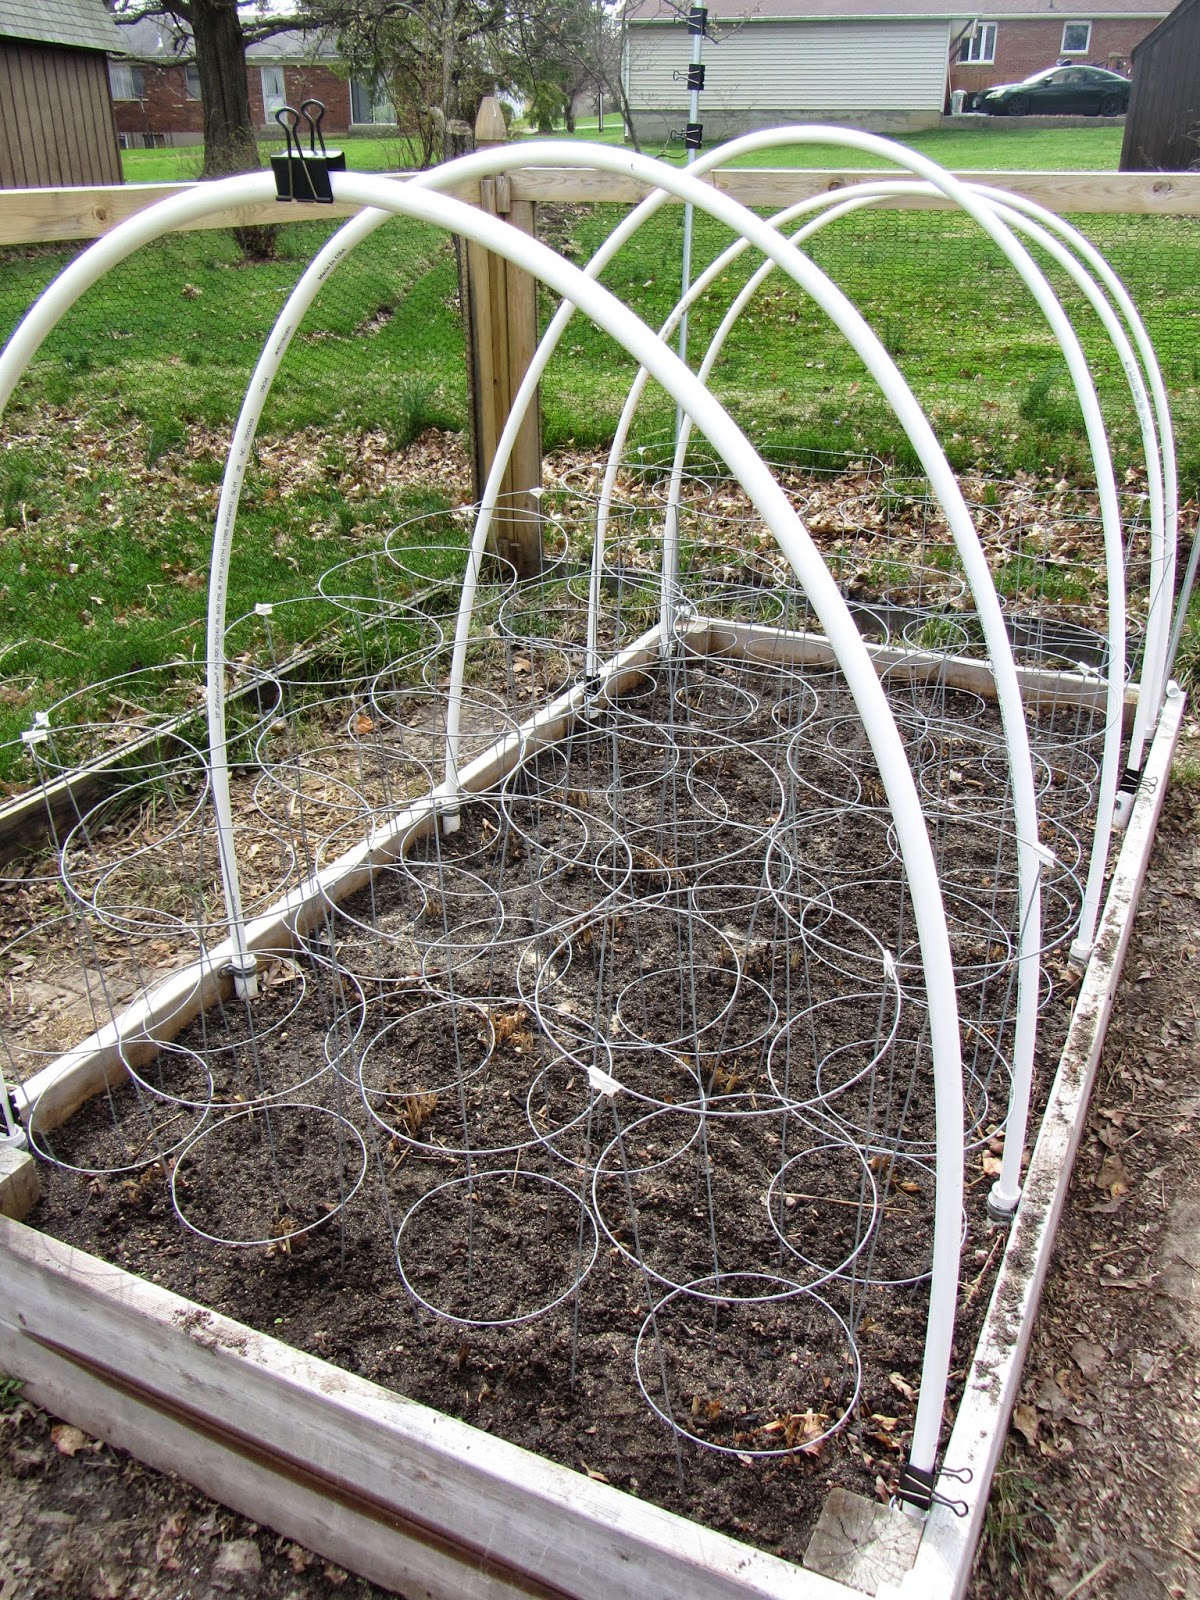 |
| Adding PVC hoops to bed |
4. Last I put on the row cover fabric.
 |
| Adding the Summerweight Fabric to the PVC hoops to complete the row cover! |
Unfortunately I hand-picked at least 20 beetles off the plants each day last year and that was frustrating. Asparagus Beetles can damage your plants and affect production. This year I made the row cover taller so it can stay on all year and then we can keep the Asparagus Beetles (see below) from the plants!


COMPANION PLANTING:
I also plant Parsley in the front of the Asparagus bed. It helps with plant vigor and I was amazed at how well the Parsley produced at the same time! I harvested the Parsley five times last year. We start our Parsley indoors from seed and then transplant them in the garden. They may look like tiny seedlings but they take off fast!
 |
| Parsley seedlings (2014) |
 |
| Parsley growing well in Asparagus bed (last year 2013) |


