6.28.2014

Harvesting Garlic


If there is one type of vegetable that I would highly recommend growing (because its easy) it would be garlic.  You plant it in the fall and then simply harvest it in the summer. Its low maintenance and virtually pest and disease free.  We have decided garlic is a new staple in our garden.  

This was our first year growing 2 different types: Tochilavri (soft neck) and German White (hard neck).  We planted the cloves from the 2 bulbs in the above picture and they produced 21 bulbs of garlic! They were planted in the fall on November 16th, 2013.  The trickiest part of growing garlic is knowing exactly when to harvest!  But have no fear we were successful with harvesting this year.  Here are my tips on harvesting:  
"ochilavri" GarlicPlanting Garlic
Lower leaves turning brown: ready to harvest!
The ideal time to harvest is when 6 or so leaves on the top of the garlic are still green and some of the lower leaves are brown.  A couple of weeks ago the lower leaves of our garlic started turning brown.  Its time to harvest!  
BED #4 Garlic, Lettuce, Onions and Summer Squash
 To prepare for harvesting the garlic needs to have time to dry out and cure.  In order for this to happen stop watering a couple of weeks early (and if it rains wait a week before harvesting).

HARVESTING GARLIC:
STEP 1: Loosen the soil around the bulb using a fork or your hand.  The soil will be fairly compacted so be careful not to damage the bulbs.  Also make sure not to pull on the stems. Carefully lift out the bulbs with your hands and brush off any soil that remains. 
Carefully removing soil around garlic bulb
STEP 2: Make sure to leave the stalks and roots on the bulbs. 
Roots left on bulb for storage
STEP 3: Get the bulbs out of the sun right away. Select a well-ventilated room or dry shaded spot outside (in the shade) and allow the bulbs to cure.  The location should be airy, dry and have some air circulation.  

NOTE: We put down plastic garbage bags under our rug on the deck (to stop rain from coming through the deck onto the garlic below) then hung a PVC pipe under the deck and hung the garlic.  One hour later the rain started pouring and I am happy to say the garlic stayed dry!
Our drying location (under our deck)
STEP 4: Now the waiting begins!  It takes about 3 to 8 weeks for the bulbs to cure.  When the wrappers are dry its time to prepare the bulbs for storage. 
The garlic a week later
 STEP 5: Cut off the tops to an inch above the bulbs and then trim the roots to about 1 inch.  (Do not wash the bulbs).  Remove just the dirtiest layers of the wrappers around the garlic. (Remember the wrapping protects the garlic).
HOW TO STORE GARLIC: 
STEP 6: Store in mesh (net bags) in a location that is cool and dry.  The ideal temperature is 35-50 degrees F.  Some air circulation is also helpful.

Softneck Garlic: Can be stored for 6 to 8 months.  Just make sure its not sprouting or soft.

Hardneck Garlic: Lasts for 2 to 4 months.  If it goes soft, dry or sprouts it has already begun to deteriorate.  If possible keep this variety at 32 degrees F for longer storage. 
Cloves we planted in November 2013. 

Finally keep the best bulbs for replanting in the fall.  Plant around October or November and then enjoy your own garlic harvest in the summer. For details on planting garlic see my previous post: Planting Garlic

6.18.2014

D.I.Y. Birdbath Restoration


 This project has been on my list to complete for the past year!  I have (2) identical birdbaths that were passed down to me from my mom.  Over the last couple of years they have started to look worn and the finish has started chipping.  Birdbaths can be expensive to purchase and I always like to find new ways to restore something to make it appear new. 
Birdbath showing signs of wear
I came up with this simple cost effective solution ($11.97 to restore both birdbaths) and I am very happy with the results!  You can do the same thing and have a one of a kind design! 

MATERIALS:
Old birdbath(s)
$3.99 Plastic decorative plate (Odd Lots)
$1.99 ArtMinds Mosaic Glass Gems Item# 10184894
$5.99 ArtMinds Stepping Stone Mix (Item# 10017741)*
*this mix will make (2) 9" stepping stones so it was perfect for (2) birdbaths.  If you are only making (1) just purchase a kit for one stone. 
  
STEP 1: Start with an idea of the design you want to make with the plate and stones you have. You will have about 20 minutes after you add water and mix the stepping stone powder before the mixture starts to get harder to work with.  
STEP 2: Get an old bucket or something you don't mind mixing in.  Pour the powder in the bucket and add the amount of water in the instructions.  
STEP 3: Mix in the water until the mixture is thick but not runny.  It will look something like the picture below. 
STEP 4: Lump it on top of the birdbath and then smooth it out almost like cake frosting.  (Don't worry about it being perfectly smooth.....you are pressing stones in it anyway! 

 STEP 5: Add your plate in the middle and press down.  Then add your stones in the pattern that you desire.  Make sure to press the stones at least half way into the mixture so they stay when it dries. 

STEP 6: Allow the birdbath to dry for at least a couple of days before moving to its final location.  Enjoy your personalized work of art! 

6.16.2014

Unveiling the Raised Beds

I found the first bloom of the season on a Zucchini plant.  That meant it was time to remove the row covers.  Unless I have time to hand pollinate them (which I don't) the bees need to be able to get to the plants for pollination.  At this point the plants are healthy and mature enough to handle most of the pests that will come along.  So let the unveiling begin!
All four beds in a row.  Plants are happy and healthy!
Flowers are growing fast in the 2 front beneficial garden beds. Blooms to come soon!
BED #1- Parsley, Asparagus & Summer Squash
I have kept the row cover on the Asparagus bed because they don't need to be pollinated.  Its also challenging to hand pick all the Asparagus Beetles that land on these plants.  Unfortunately I discovered that the Asparagus Beetles overwinter in the soil so I am already battling them. I have to admit I am disappointed that this has happened again this year.  I have tried dusting them with bone meal as well as spraying them with a homemade garlic spray.  I still find about 10-15 per day on the plants.
Asparagus Beetle on Asparagus plant
BED #2- Zucchini, Lettuce, Onions, Tomatoes, Okra & Cucumbers

6.03.2014

Authentic Greek Chicken Gyro


I have found the perfect way to use those cucumbers, tomatoes, red onions, cilantro, mint and lettuce from your garden.  Greek chicken gyros!  So delicious you will want to make them again and again. I also want to mention that I the
Tzatziki sauce is authentic.  No sour cream or dill here!  (My Greek heritage coming to the surface).  Hope you enjoy these as much as I do!

Authentic Greek Chicken Gyros: Serves 4

Ingredients for Marinating Chicken:
( 2) Chicken Breasts*
*(I use (2) 9 oz. packs of Perdue Fully Cooked- Original Roasted Chicken Breast to save time)
1/4 cup olive oil
2 tablespoons lemon juice
2 Tbsp minced garlic
1/2 tsp cumin
1/2 tsp onion powder
1 tsp dried oregano
1 tsp salt
STEP 1: Mix all the ingredients for marinating the chicken.  Put the chicken in a dish or bag then pour the marinate over the chicken.  Refrigerate the chicken and allow it to marinate for at least 2 hours. 
 
Ingredients for Tzatziki Sauce:
2 lbs. greek yogurt (FAGE brand)
1/2 lb. finely diced cucumber 
1 1/2 oz.  fresh chopped dill
2 garlic cloves peeled
4 Tbsp. olive oil
salt & pepper to taste

STEP 2:  Make the Tzatsiki sauce (you can make this ahead it stores in the refrigerator for up to 3 days).  Peel the cucumber. Remove the seeds. Cut into thin pieces and chop it up fine.  Put in in a sieve or colander salt and let it drain.

STEP 3: Put garlic and olive oil in a food processor or blender to make a thick paste.  (If you have extra paste it will store in the fridge for up to 1 month). 

STEP 4:  In a medium size bowl mix the yogurt, chopped dill, cucumber and a dollop of garlic paste.  Add salt and pepper to taste.  (If you want to be authentic the Greeks then mix it with their hands). 

STEP 4:  Refrigerate the Tzatziki for at least 1 hour.  Garnish with dill and top with olive oil.

STEP 5: Cook the marinated chicken (I use a cast iron grill pan) for 4 minutes per side.  Then remove the chicken from the pan and place 1 piece of the flat bread in the grill pan.  Warm the bread about 2 minutes per side.  

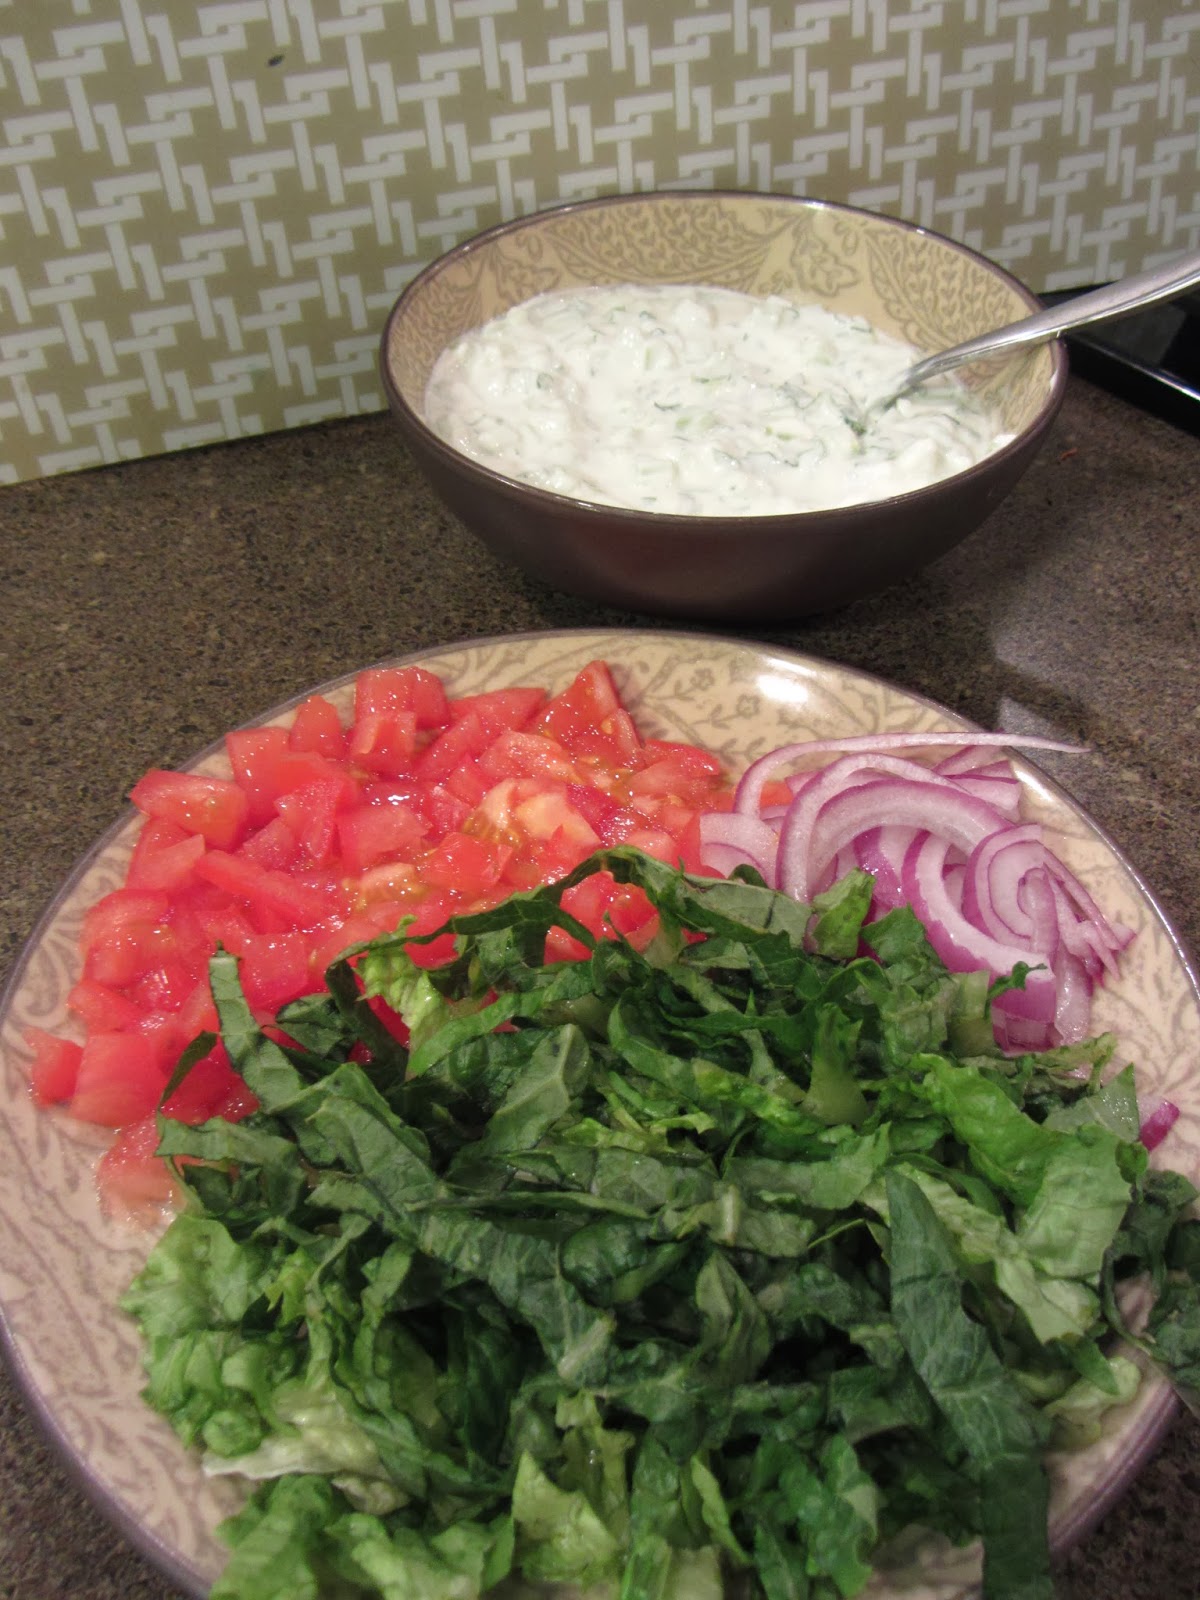
Ingredients for Gyro Toppings:
Flat bread (I use Stonefire Tandoor Baked Nann)*can substitute pita bread
Shredded lettuce
Sliced red onion 
Diced tomatoes

STEP 6: Finally layer your Gyro starting with chicken, lettuce, tomatoes, onions, and finish with the tzatsiki sauce.


STEP 7: Time to eat!