7.28.2014

How to Attract Birds

I walked out to the garden tonight and was able to get close to the Yellow Finches that were picking away at the Italian Sunflowers! So beautiful.  They are acrobatic hanging upside down and eating sunflowers (their favorite).

Birds are an important part of a healthy garden.  They eat insects that are pests and simply need: shelter, cover, water and food.  You can add elements to your garden to make sure you have your own bird haven.
American Goldfinches- Female (left) Male (right)
This year we cleared out the back right corner of our yard and added a small flower bed (on the far right of the picture below).
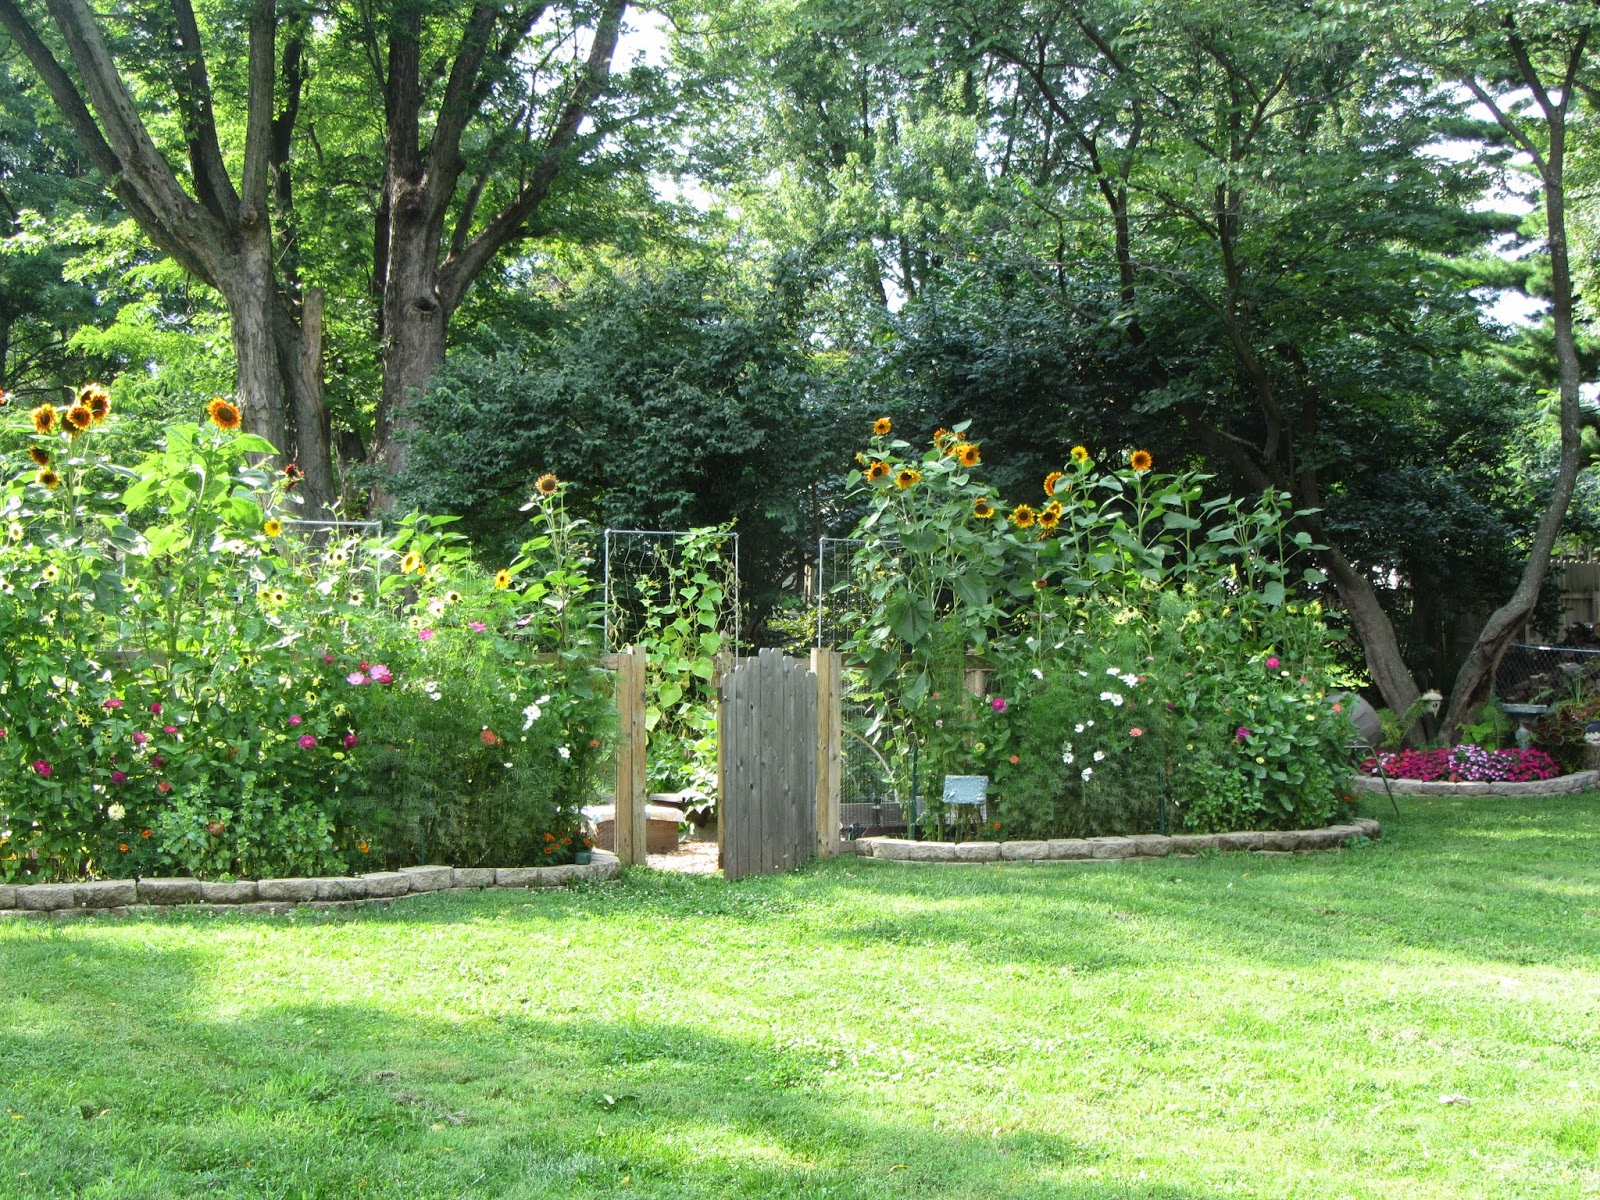
Garden on July 28th
The new addition of the small flower bed has been the perfect solution to an unsightly area.  It also allowed us to create an environment to attract birds.  We moved one of our birdbaths to this location and also added a small birdhouse. This corner is also shaded so it provides an escape from the heat of the garden.
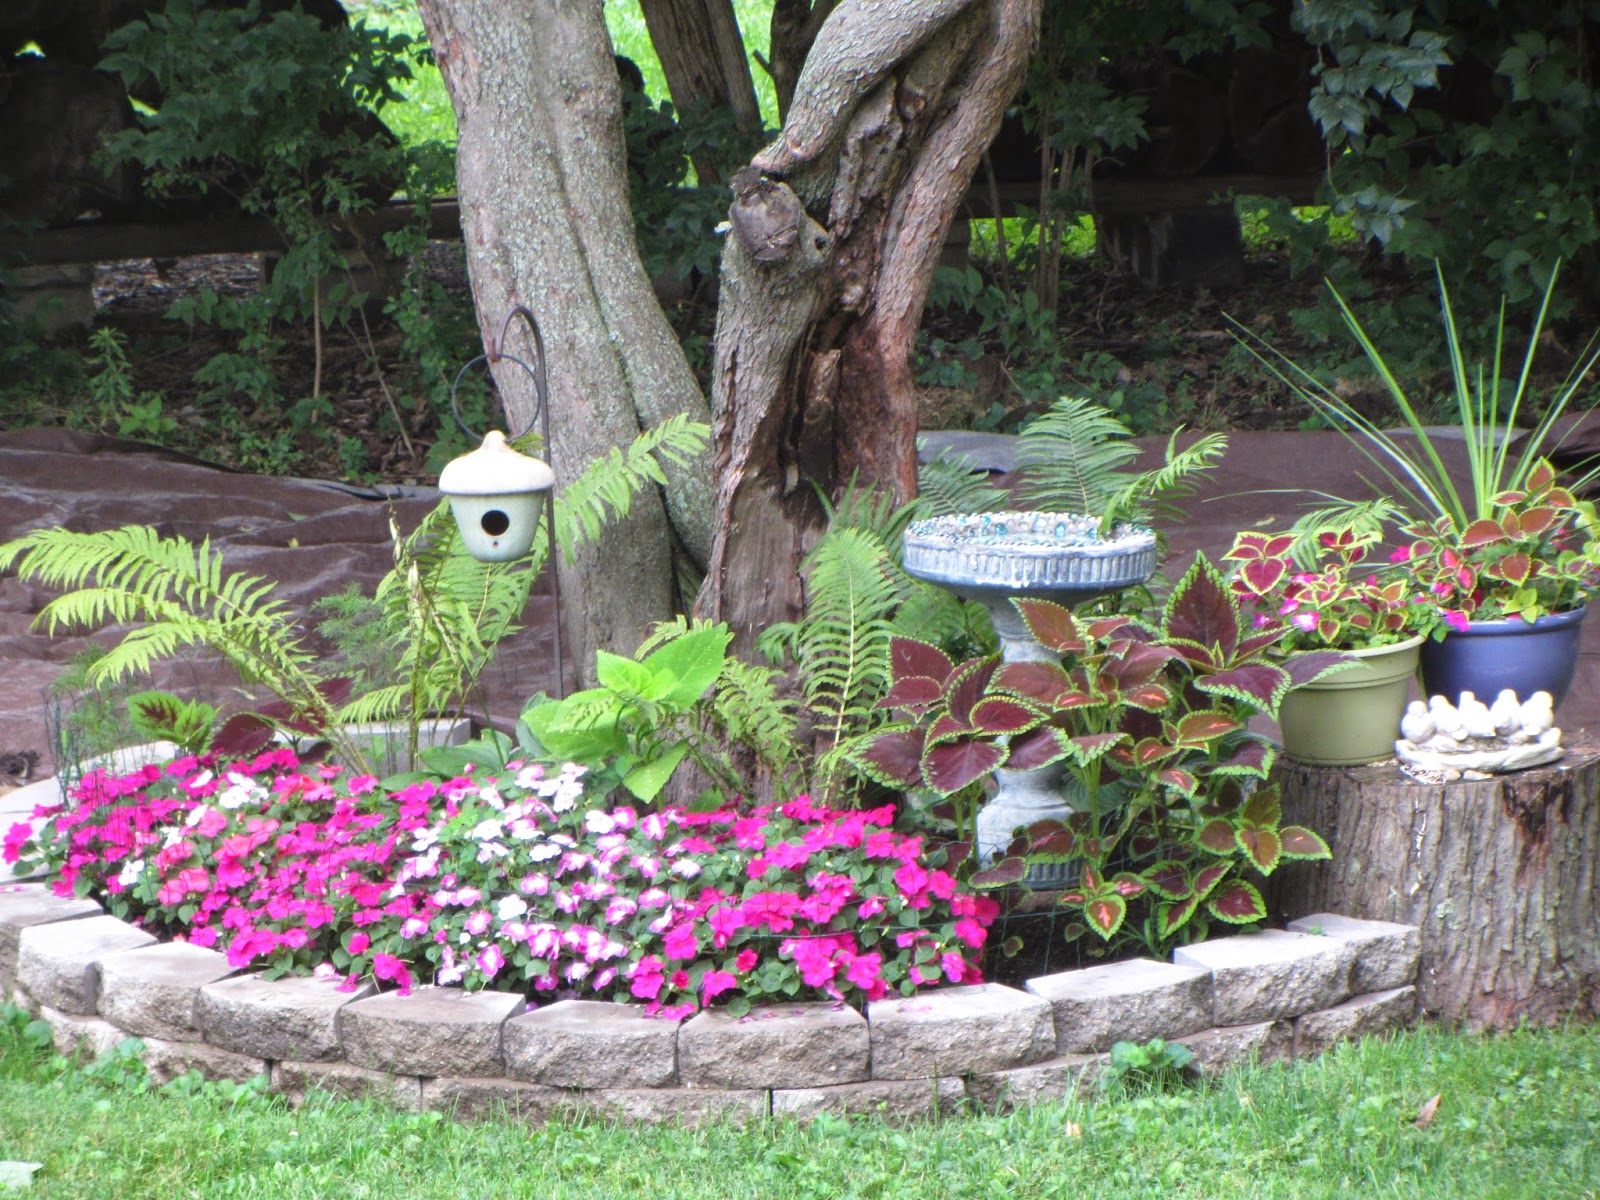
Birdhouse & Birdbath- under the tree in the shade
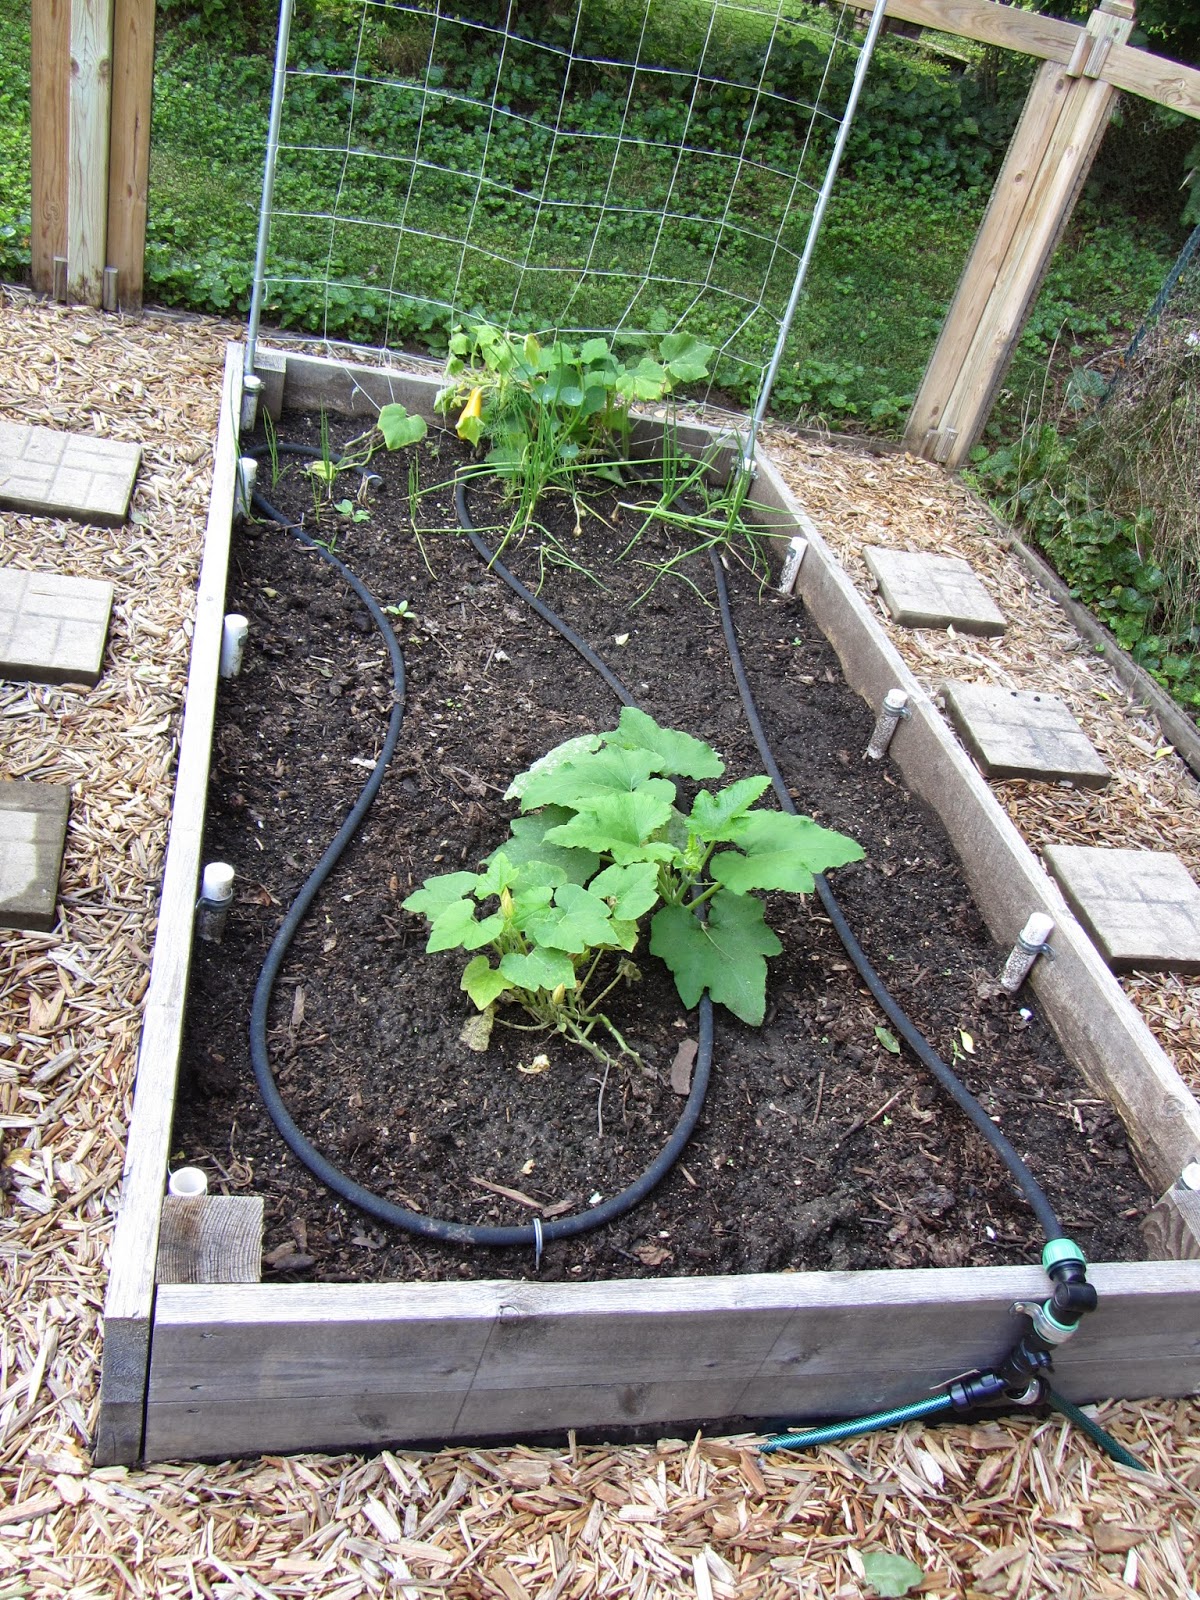
UPDATE ON RAISED BEDS IN GARDEN: The pictures below show the progress in the garden.  Around mid-August the garden will be close to final production.  However, right now things are still growing!
BED #1- Parsley, Asparagus & Summer Squash
BED #2- Zucchini, Onions, Tomatoes, & Okra (removed Cucumber vines today due to disease)
CENTER BED: Herbs, Marigolds, Tomato & Peppers
BED #3- Zucchini, Green Beans, Peppers & Cucumbers (removed Cucumber vines today due to disease)
BED #4- Pumpkins, Onions & Summer Squash (previously had lettuce)

Harvest Totals July 28th

August is going to be very busy for us so I wanted to make sure to post an update on the garden before things become hectic!  Although this has been a very cool and wet summer we have still had success in the garden.  Some plants have struggled (tomatoes, cucumbers and onions) but overall things have gone well.   
 From the fruit of their lips people are filled with good things, and the work of their hands brings them reward.  Proverbs 12:14 
Below are some harvest totals up to this point: 
Flowers in full bloom
I have loved looking out at the flowers which border either side of the garden gate.  This year I tried new types of Sunflowers and Zinnias and I love picking some of the flowers to bring indoors in arrangements. The textures and colors "pop" when they are up close and inside.


This year I have had the same pests and issues as last year (sad to say).  However, I haven't been able to get out into the garden everyday to try and prevent problems so I am half to blame.  I also discovered that the Asparagus Beetles overwintered in the soil so I couldn't have prevented them from coming back.  Cucumber Beetles have wilted the vines on the Cucumbers again and I find them to be very challenging pests to eliminate.
Ladybug (a beneficial insect!)
The Squash Vine Borer (SVB) has attacked again this year. So far I have noticed that only 1 Zucchini plant has been affected.  I noticed a sawdust like substance which is called "frass" around the base of the stem.  At that point the plant is infested with the larva and they are eating the inside of the stem.  I pulled up the plant and split the stem to find the pests munching away!  Then it was time to throw the plant and pests in the trash. 
Squash Vine Borer Larva
Despite the pests this year has still been a wonderful year in the garden.  There are 3 more Zucchini plants that are producing!  The Summer Squash are also happy and so far we have picked 3 colanders full of green beans.  There are 9 Tomato plants in BED #2 that have lots of green tomatoes!  We have been harvesting the red tomatoes on the deck and okra.  The harvesting is far from over.
I have especially loved the Sunflowers this year and so have the yellow finches!  The one below almost appears to be artificial but its real!

7.21.2014

Tomato Issues & Solutions

Cool night temperatures and an usual amount of rainfall for July has been positive for flowers and other vegetables, but harmful to warm temperature plants like tomatoes.  This year we have had two issues with our tomatoes on the deck.  "Septoria Leaf Spot" and "Blossom-End Rot."  Here is some information on what to do if you find these issues on your tomato plants.  
 
Tomatoes love the heat and cool temperatures can produce a disease called "Septoria Leaf Spot" The spots start to show up when the first fruit are setting on the plant.  They are 1/16" to 1/4" inch in size and you find them first on the lower leaves of the plant (see picture below).  The center of the spots have black or brown centers and are surrounded by brown.  The tissue that surrounds the spots eventually will turn yellow.  The more spots on the leaf the more likely it will just shrivel and die.
"Septoria Leaf Spot" on our plant
If you find that your plants are starting to developing Septoria Leaf Spot then remove the diseased leaves and destroy them right away (do not compost).  Those left on the plant can spread infection.  The tomatoes on your plants will be fine but you may have a reduced crop if lots of leaves are removed (tomatoes need leaves to produce).  

You can also use mulch like grass clippings around the base of the plants to stop the pathogen from going from the ground to the plants.  If you need to water the plants (this year that has been rare due to rain) make sure to water at the base of the plant and not to water overhead or get leaves wet.
Tomato ready to harvest
The second issue is "Blossom End Rot" which is caused by a calcium deficiency.  The deficient soil is not able to bring the tomatoes to the ripe stage before the fruit rots.  This year I believe it is because the rain can cause the nutrients to rush out of the soil (we have had more than our fair share of rain this year!)   


One day I walked out and the tomatoes were orange and almost ready to pick and the next day they were red with these water soaked dark brown circles underneath.  I have had several other people in this state tell me they have had the same issue this year.  I did find it interesting that the garden I know of in Alabama (which planted some of my tomato seedlings) hasn't had this issue and also hasn't had this cool moist summer!  Anyway it is quite a disappointment when you were ready to eat your tomatoes.  The good news is that it can be prevented and stopped after it has begun. 

Rain can cause nutrients to rush out of the soil rapidly - See more at: http://gardenmentors.com/garden-help/edible-gardens/growing-tomatoes-successfully-despite-cold-temperatures-and-rain/#sthash.cGyeUAHx.dp
Two of our tomatoes with "Blossom-End Rot"
If you find this issue on your tomatoes throw out the fruit with blossom end rot (keep those on the vine that are not showing any signs of rot) and use these means of prevention and control: 

BLOSSOM END ROT SOLUTIONS:
1.  Use a fertilizer low in nitrogen and high in phosphorous. 

2.  Treat calcium deficiency with one of these options:
a. Epsom Salt- Once a week dissolve 1/2 cup of Epsom salt in a gallon of water and slowly pour all of the mixture around the base of the plant. 
b. Tomato Rot Stop- Quick acting liquid calcium chloride you can purchase in a spray.  You apply it on the fruit and foilage after you get heavy rain or rapid growth (apply early morning or late evening to prevent leaf burn).

3. Apply mulch to maintain constant soil moisture. 

4. Water at the base of the plant and not to water overhead or get leaves wet. 
Green tomatoes still on the vine

Preventative measures for next planting year:
1. Work Epsom salt into the soil before planting tomatoes (and other garden vegetables) in the spring.  For a raised bed garden (4x 6 or 4 x 8) apply one pound.  For containers and pots use one cup and work into the soil.  

2. Several times during the growing season side dress or water the vegetables with 1/2 cup of Epsom salt dissolved in one gallon of water. 

I am happy to report that I used Tomato Rot Stop on our tomato plants on the deck and I have been harvesting healthy tomatoes with no more Blossom End Rot!  Here is a picture of the harvest......delicious.
Harvest last week of Green Beans, Zucchini, Summer Squash, Cucumber and 2 red Tomatoes with no issues!

7.18.2014

Strawberry Blueberry Pie


This year we have expanded the garden to include fruit!  My husband wanted to try Blueberries and I adore Raspberries so he started researching back in March.   We bought 3 Blueberry plants and 1 Raspberry plant from a local nursery.  We have loved this addition to the garden and plan to add more plants next year.
Jelly Bean, Chippewa & Peach Sorbet Blueberries
Raspberry Shortcake
Fresh Raspberries
I had some Strawberries from the store this week so I decided to add some blueberries and make a pie!  (I also love Raspberry pie but we haven't harvested enough berries yet from our 1 plant to cook with).  

NOTE: If you are short on time you can always just buy frozen pie crust instead of making yours from scratch.  

BERRY PIE FILLING
INGREDIENTS:
1- 1/2  cups of fresh blueberries
2 cup of fresh strawberries
1/2 cup of sugar*
1/4 cup tapioca 
honey

* I reduced the sugar from 1 cup to 1/2 cup and then drizzle some honey over the berries.  I find that its still very sweet and delicious! 

PREHEAT OVEN TO: 375 degrees

DIRECTIONS:
1. Wash the berries then dry.  Cut the Strawberries into fourths then add to the blueberries.

 2. In a bowl mix together the sugar and tapioca.  Start the pie crust recipe (below) and let the berries stand for 15 minutes.
HOMEMADE OIL CRUST 
INGREDIENTS:
2  cups of sifted flour
1 tsp. salt
3/4 cup vegetable oil (or a bit less)
1/4 cup milk  

DIRECTIONS:
1. Sift flour and add salt, oil and milk to bowl.
2. Stir with a spoon until a ball forms.
3. Divide the dough into 2 balls.
4. Roll out 1 piece between 2 sheets of wax paper.  Then repeat with the other piece.
5. Take off the top piece of wax paper carefully and place your pie dish on top.  
6. Flip the pie dish and dough over holding one hand on the wax paper and the other on the bottom of the pie dish. Shape the dough around the pie dish and poke with a fork.
 7. Pour the berry mixture into the pie crust.
8. Top the pie with the other piece of rolled out dough.  Pinch edges together for crust. 
9. Put foil around edges of crust (to prevent burning).
10. Bake in oven for 25 minutes.  Then remove the foil.  Bake for another 20 to 25 minutes until the crust is golden brown and the the filling is bubbly.

11.  Cool on wire rack.  Then slice and enjoy!

7.16.2014

A Walk in the Garden

It was such an amazing evening for July.  Cool and breezy with no clouds in sight.  Perfect for a walk in the garden.  A time to reflect on the busy week and the changes to come.  Time to give thanks for all God's blessings in my life and time to pray for those I love.  

These are the pictures that I choose to capture that walk.  Details of pausing from our busy world to look at the colors and textures.  Every image shouting for our lives to take a break from this chaos.  An invitation to listen and be quiet.  Allowing the peace of God to wash over your life.  

"You will go out in joy and be led forth in peace; the mountains and hills will burst into song before you, and all the trees of the field will clap their hands." Isaiah 55:12