6.16.2015

In Full Bloom

I have been a bit behind in taking pictures!  The following is a comparison of May 14th compared to June 14th.  Its amazing how fast things change in the garden.  Check out the pictures below and see for yourself.
From back to front: Peas, Eggplant, Peppers and Zucchini


 From back to front: Peas, Green Beans, Peas (Bush)
 
 From back to front: Garlic, Onions, Herbs
 
From back to front: Okra, Kale, Spinach, Lettuce
 

Finally harvested all the Peas and cleaned out the old pea vines on June 15th!


4.29.2015

Simply for the joy in seeing them grow


The LORD will guide you always; he will satisfy your needs in a sun scorched land and will strengthen your frame.  You will be like a spring whose waters never fail.  
Isaiah 58:11 

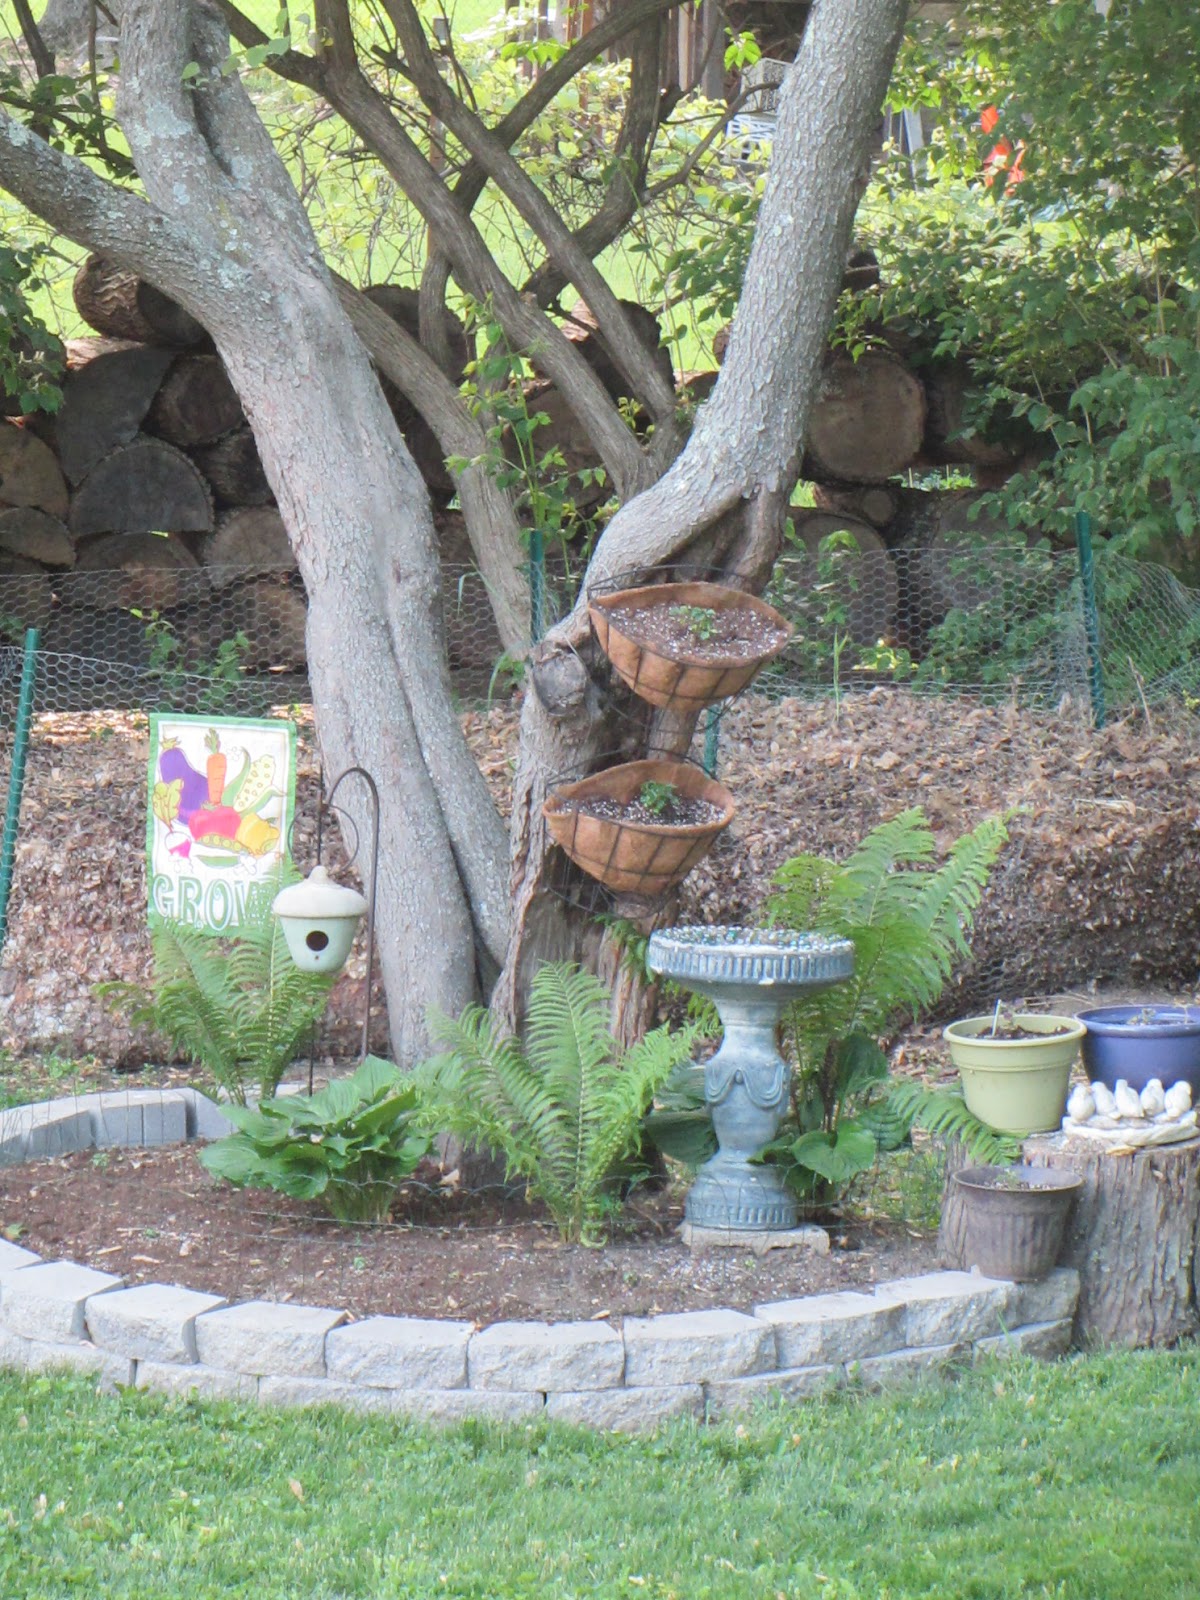
Honestly its been a very challenging year and I have not been able to dedicate the same amount of time and attention to the garden as years past.  The amazing part is despite my lack of ability to keep up the garden is still flourishing. All the praise goes to God for those details!  

This is my favorite time of the year and I love to see the seeds we planted start to grow!  I always find it incredible that I am able to be a part of this process. 

Its still early and in the next couple of weeks (before May 15th) we will be finishing our planting.  Inside I still have eggplant, coleus, inpatients and snapdragons that I need to harden off so they can be planted outside.  

(FRUITING) RAISED BED #1

Peas growing vertically
We planted our peas on March 17th then planted the Kale (started indoors), Spinach and Lettuce on April 12th.  I simplified things and only started a few seeds indoors. 
Peppers & Tomatoes (peas in background)


I ordered peppers and tomatoes online and they arrived today! I was able to plant them outside because they are under our winter row covers. Check out one of my past posts if you are interested in using row covers

(LEGUMES)  RAISED BED #2
Bush Peas 

 (ROOT) RAISED BED #3 
Herbs, Onions & Garlic
  (LEAVES/FLOWERING) RAISED BED #4
Lettuce, Spinach, & Kale
This is our first year growing Kale.  My goal is to try another planting in the fall.
Kale
I was able to catch a beautiful sunset on camera and am looking forward to seeing another one this summer. Until the next post enjoy digging in the dirt!

3.20.2015

Gardening 101: Soil Preparation

There is one thing that is the most important step for a healthy garden.  It is your soil.  For beginning gardeners it tends to be something that is overlooked.  (I say this from personal experience my first year gardening).  

I want to take the complexity out of understanding your soil and help you improve it quickly and simply this spring!

Understanding your soil:  Your soil is the source of  nutrients giving life to your plants.  Healthy soil is alive and full of microorganisms and bacteria.  It has enough air space between the soil for water, air and plant roots to enter and it holds moisture and nutrients so that plants absorb them.  
The best soil will have 3% to 10% of organic matter.  Organic matter holds water and nutrients then releases it to your plants.  If you are working with your existing soil you will have either clay soil, sandy soil or loamy soil.  

1. Loamy soil is the ideal type to have (and rare).  It holds moisture and nutrients so that plant roots are able to absorb them.   

2. Clayey soil makes it hard for air, water and plant roots to be absorbed.  It dries slowly and drains poorly.  

3. Sandy soil allows air and plant roots to grow but also allows water to pass through rapidly.  It doesn't hold nutrients or moisture for long.
Two different ways to create your own compost: A compost tumbler and a simple chicken wire bin.
Whichever type of soil you have here is the secret: add organic matter (compost) to your soil and it will make a significant difference! 

Organic Matter: Compost is the most basic of all things you can add to your soil and the most beneficial.  It enriches your soil and allows nutrients to be provided to your plants for a long period of time.  It also provides the ability for the soil to hold moisture which is an outstanding attribute.  Another great benefit: When you use compost on your garden you won't need to use any other natural fertilizers!  
 You can use manure on your beneficial flower beds as long as you don't plan on eating any of your plants in them!
Application: Once a year in the spring apply a 1/3" or 1/2" layer of compost to your soil and mix it in with a shovel or rototiller.  

NOTE: Compost (organic matter from once living things) is different than manure (animal waste).  Don't use manure on your garden it can release ammonia which badly injures plants.  It can also harbor human pathogens.  Also E.coli can live in manure that is not composted for 21 months!

Read this post for Our Favorite Soil Mix (from SFGM)

3.10.2015

Gardening 101: Plant Layout


The simple way to plan your garden layout is to pick up a pencil and paper and start drawing!  That's it.  You don't need a computer program, an app, or special sketching skills.  Those things are tools that you can use, but that are not required.  

The image above shows our layout using the Basic Crop Rotation layout I wrote about last week titled Gardening 101: Crop Rotation. If you missed this post I recommend reading it first before continuing this one. This post shows you how to space your garden and finalize your plan in six easy steps using the SFGM (Square Foot Gardening Method). 

STEP 1: Draw the outline of your garden.  
I will draw one of our 4 x 8 size raised beds for example. 
Typically if this is your first year gardening I would recommend starting with a 4 x 4 raised bed. 

Vertical Frames at the end of the raised beds

Also all plants that vine (cucumbers, peas, squash, vine beans and vine tomatoes) are grown using a vertical frame at the end of the raised bed (which saves a tremendous amount of space).  Add a vertical frame at the north end of your raised bed. Here is a link to my other post on Building A Vertical Frame for a Raised Bed

Drawing outline of garden