
I personally think that gardening is amazing because you design your garden around your individual needs! You can start a small garden for little cost and effort and great rewards. Before seed packets start arriving at your local stores take some time to do the 4 steps below to prepare to garden in 2014!
Take a look at your yard, deck, patio, and flower beds. Where would be the best location for your garden? Choose the location that gets at least 6 hours of sunlight a day (preferably 8 hours). From 9am to 4pm is when the sun is at its peak intensity which is the best time for your garden to receive light. You can alter the other factors for your garden but this one is a consideration that can't be changed.
My other suggestion is to keep the garden in view from inside your house. That way you remember to water, check and monitor pests on a regular basis. Then you are also able to look at your plants growing daily.
 |
| Raised bed garden |
Container gardening , planting directly in the ground, building a raised bed, growing vertically and more!
 |
| Bush Zucchini plant grown in a container on the deck |
 |
| Our first 4' x 4' garden (behind the compost tumbler) it now serves as our leaf pile. |
STEP 3: (The secret is out) The better your soil the better your garden
Out of all the steps this is the most important (other than sun) to the success of your garden. I would not recommend just going out to your backyard and loosening up the soil and planting. You can do that if you choose and you can also add different matter to this soil to improve it. Just keep in mind this typically takes about 6 years of work which is a significant time requirement.
Your garden needs well drained, loose, light, nutrient rich soil full of organic matter. This is one of the main reasons that we selected the raised bed garden over just planting directly in the ground. When you build a raised bed you have a smaller area to fill with soil. You can buy all the ingredients for your perfect soil and then mix them together into the raised beds. There are different options for soil mixes so research this area to decide what you want. Here is our favorite soil mix that I have shared with my friends and family:
taken from: Square Foot Garden (80's version)
by Mel Bartholomew
Ingredients:
1 bale of peat moss: 6 cu ft
1 large bag of course vermiculite: 4 cu ft (get this at hardware store)
10 pails (2 1/2 gallon size) of sand: 3 cu ft
2 pails of wood ashes and charcoal (we left both of these items out)
10 pails (2 1/2 gallon size) of compost: 3 cu ft
1 coffee can full of lime
1 coffee can full of organic fertilizer
TOTAL volume of mixture: 16 cu ft.
(This amount will fill one garden block to a depth of 12 in or two blocks to a depth of 6 in.)
Mixing Procedure:
1. Mix all ingredients with a flat bottom shovel. (We mixed little by little in the raised bed....or you can mix it on a hard surface and then move it to the bed).
2. Spray with a hose to dampen the materials (don't soak) as you mix the pile.
3. Fill garden block with mixture turning over to mix it well. Again spray with hose as you mix.
4. Level and add enough additional mixture to fill the raised bed, level again spray once more with hose, and the block is ready for planting.
 |
| Bush Green Beans |
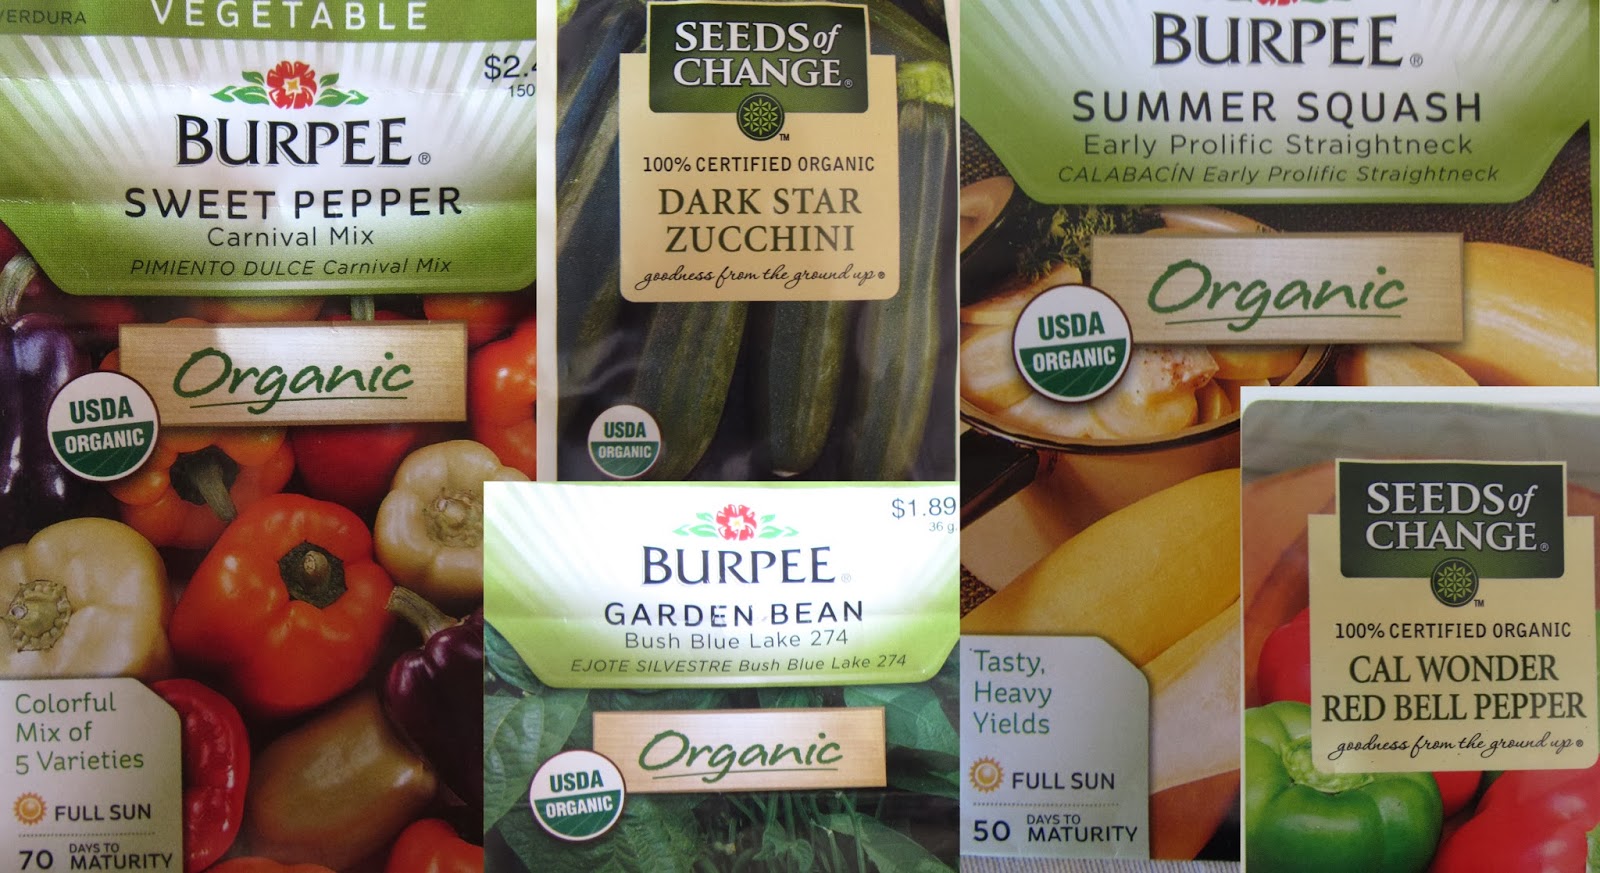
This should be obvious, but when you first start out select vegetables that are easy to grow and that you really love. You won't ever find parsnips, radishes, or beets in our garden because we just don't eat them. Some vegetables my family has had great success growing are: basil, bush beans, eggplant, parsley peppers, squash and tomatoes.
 |
| Beefsteak Tomatoes |
 |
| Sweet Pepper (Carnival Mix) |
Take a look at these simple steps in the next month or so and I will expand on other tips and considerations!
STEP 2: Choose the type of garden
STEP 3: The better your soil the better your garden
STEP 4: Grow only vegetables you enjoy eating

No comments:
Post a Comment