Showing posts with label Asparagus. Show all posts

5.27.2014

May 27th Update (with Okra & Garlic info)

Everything is finally planted in the garden!  This is the best time of year to get a little break and enjoy the warm weather.  Over Memorial Day weekend we were able to put the finishing touch on the garden by laying down weed block and adding mulch between the beds. (Pictured below)
Before mulch & weed block
After mulch & weed block
Its amazing how much better it looks! We have also enjoyed relaxing and sitting out on the deck with the little one playing in the baby pool. 

The Deck with flowers, tomatoes & raspberry bush
(2) Tomatoes, Petunias & Gerbera Daisy
(3) Tomatoes & Raspberry (new addition this year)

4.15.2014

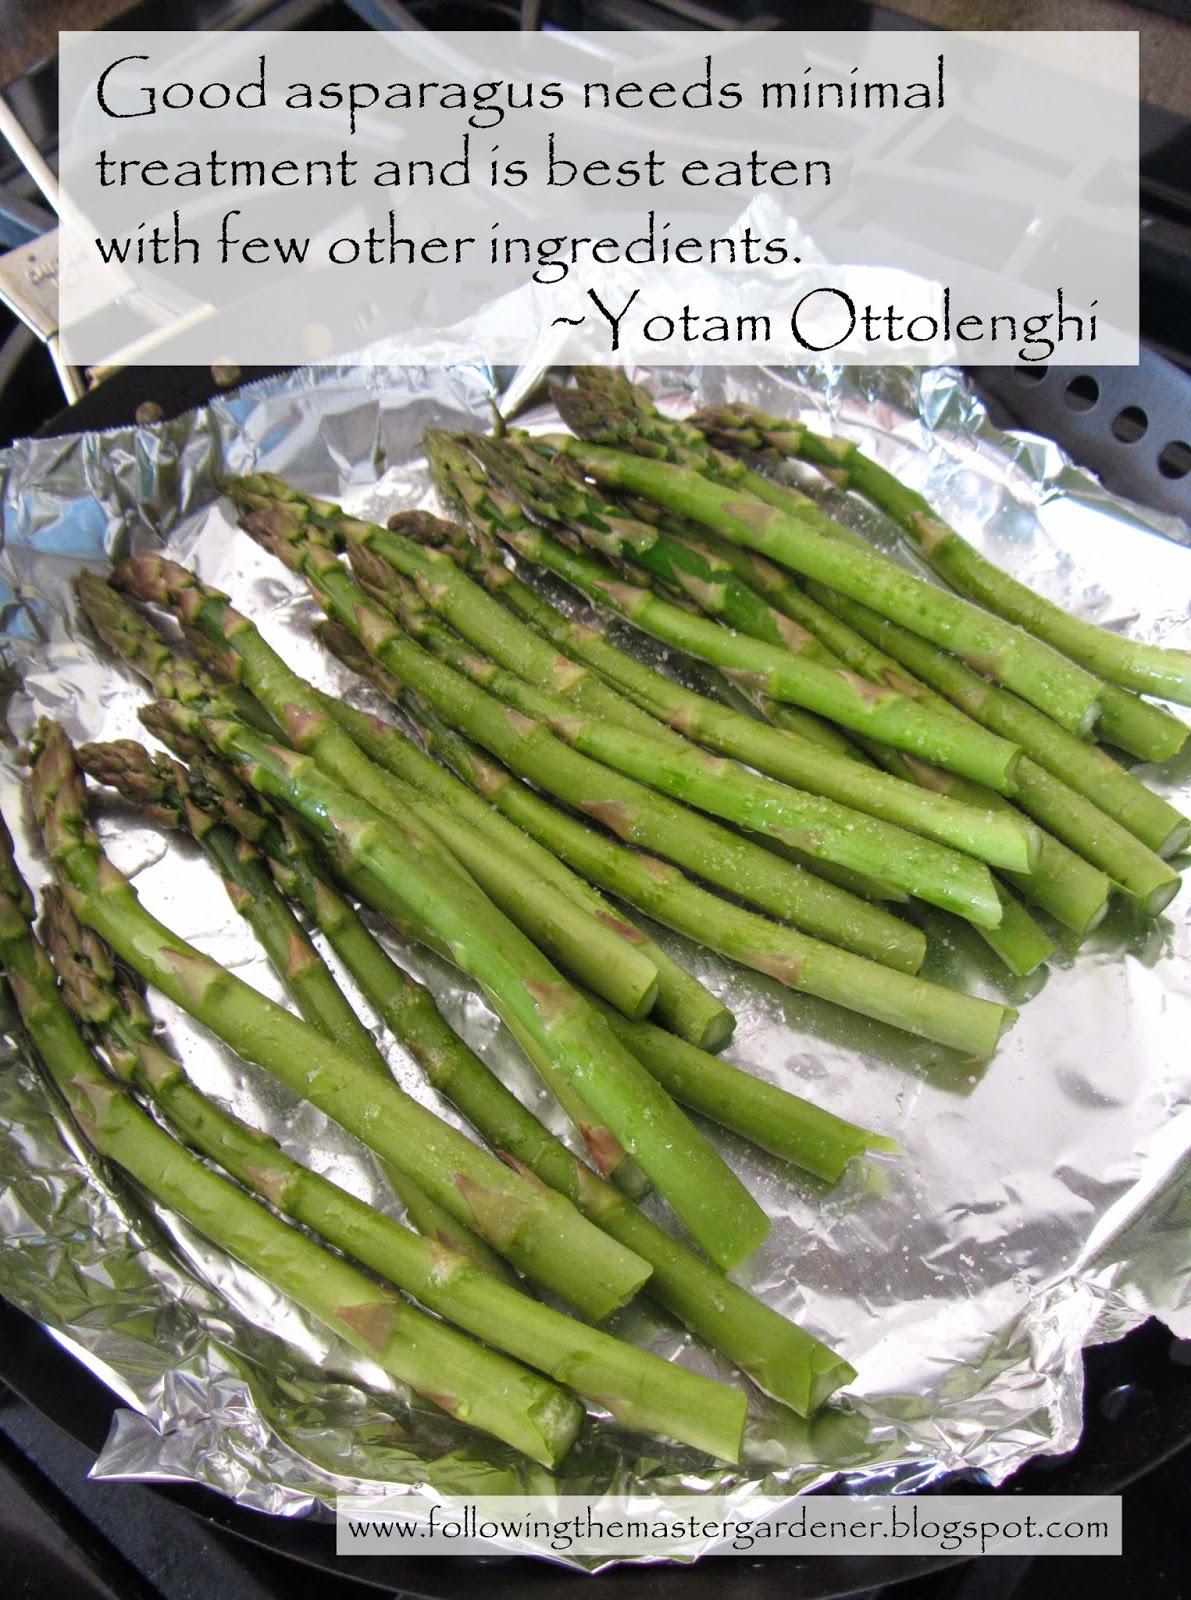
Everything Asparagus


Asparagus has been grown for thousands of years.  The Macedonians were the first to use it domestically around 200 B.C.  It is a good source of potassium, fiber, vitamin B6, vitamins A and C, thiamin and is a nutrient-dense food high in Folic Acid. 

Out of all the vegetables we have grown Asparagus has the most interesting story. For instance did you know that if you plant Asparagus properly they can produce for 15 to 20 years!  You can even grow white asparagus by simply mounding soil over your spears so they grow in the absence of sunlight.  The chlorophyll doesn't have the ability to develop so your spears stay white!  (Pictured below)
This years Asparagus spears (white in color from being covered over the winter) starting to emerge

We love to eat Asparagus so last year we decided to dedicate one of our raised beds to growing Asparagus.  They love well drained conditions and rich soil so a raised bed is ideal.    

We chose to grow Jersey Supreme which are all male cultivars known to produce 25-30% times more than conventional cultivars.  (Female plants spend lots of energy producing berries and seeds so they bear less spears). We ordered (25) certified disease free 1 year old crowns through Gardener's Supply to add to the (4) we had from a previous year.  It is said that 25 crowns are adequate for 2 people. 
Asparagus starting to grow
(May 7th of last year)
HARVESTING:
Year One: Asparagus should not be harvested the first year after you plant them.  They need all their energy to develop a healthy crown during the first season.  You can see below that last year we left them alone.  They look almost fern like when they grow.  


Asparagus with "fern" growth 
(May 25th of last year)
Year Two: Some research suggests you can harvest them for 2 weeks the second year. Picking 2 or 3 of the thickest spears from each crown. Others suggest waiting until the third year. 
Year Three: Harvest all spears for 4 weeks. 
Year Four: Harvest for as 8 to 12 weeks.  Stop harvesting when half of the spears are less than the thickness of a pencil. 

TIPS FOR PLANTING:
1. Plant as soon as you purchase them.  In 50 degree soil in the Spring.  Dig a 6" trench and add a high phosphate fertilizer (we used bone-meal).  
2. Plant (1) per 12 x 12 square. Laying the crowns up and covering with 2 inches of soil. 
3. Allow the fern to grow all season keeping the plants well watered. Cut to 12" tall when ferns die naturally in the fall.   

MAINTENANCE:
1. The year after planting cut the old ferns to the ground.  Add lime and 5-10-10 per 100 sq. feet.  

Lime added to bed this year
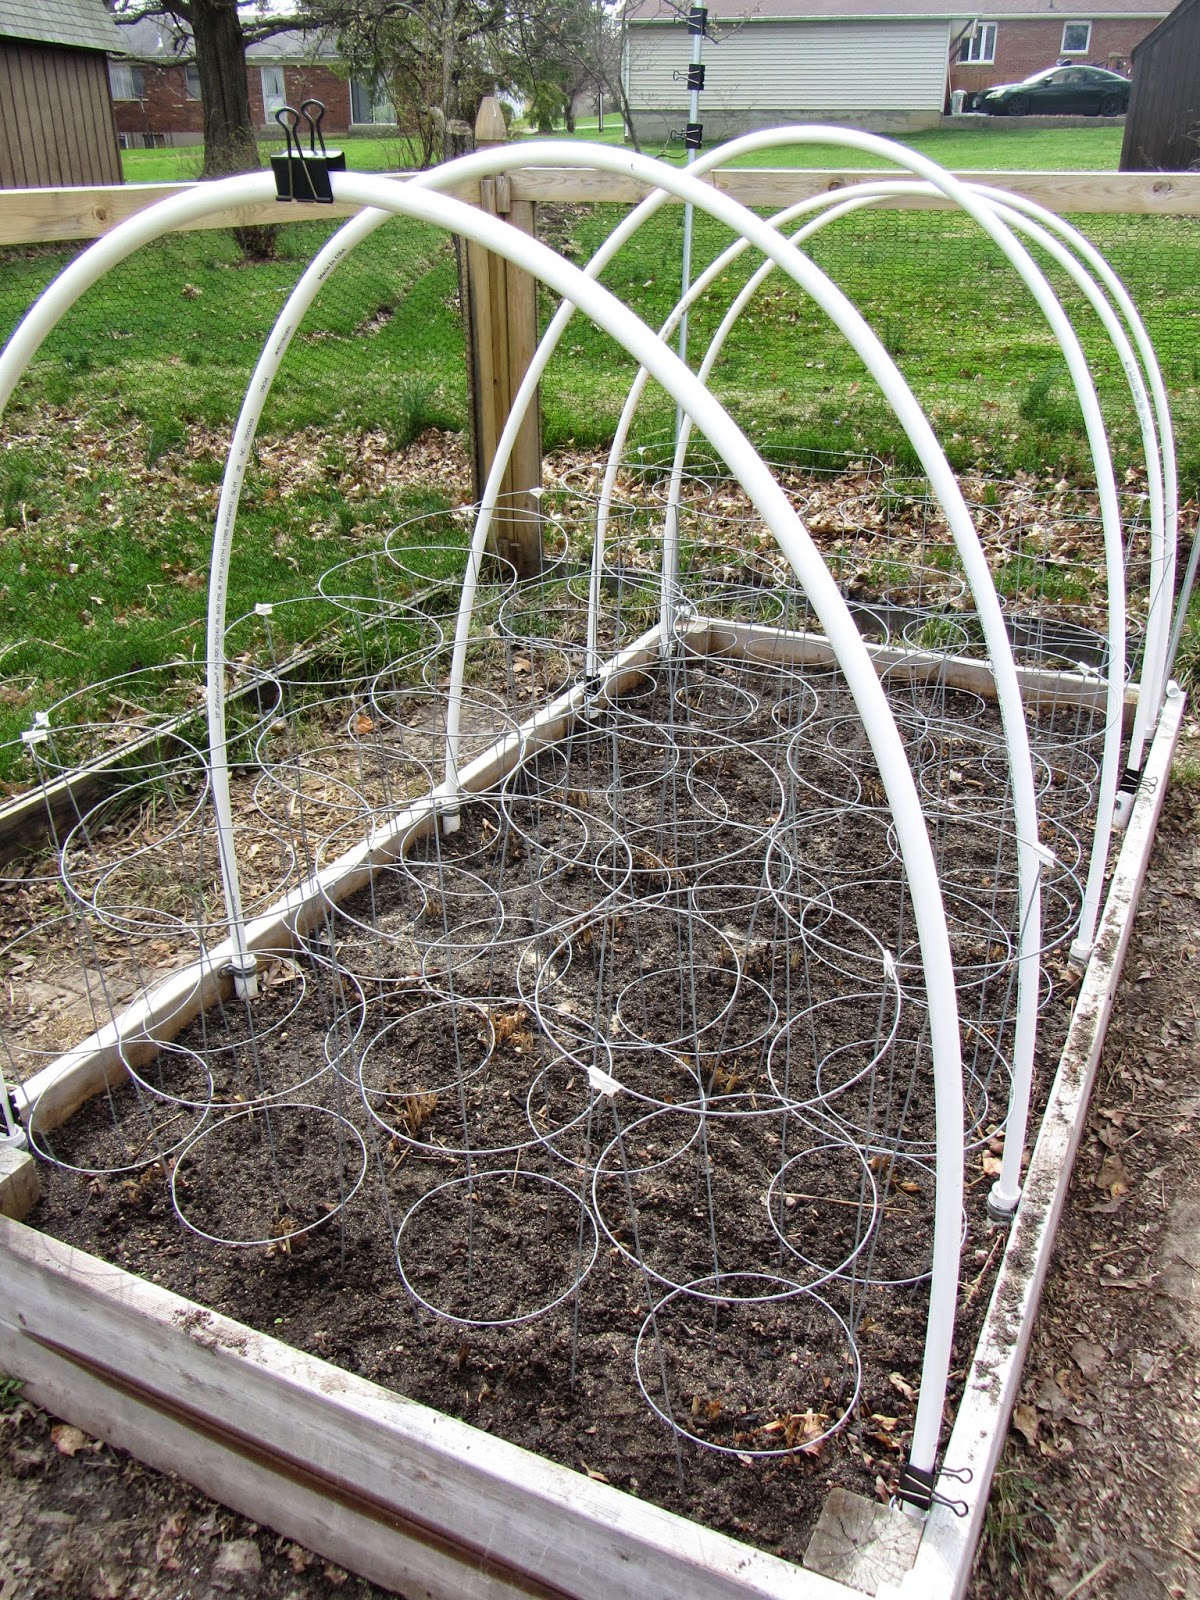
2. We add tomato cages over each crown to help contain the Asparagus ferns.  
Adding tomato cages
3. Then I add the PVC hoops for our row covers.  
Adding PVC hoops to bed

4. Last I put on the row cover fabric. 
Adding the Summerweight Fabric to the PVC hoops to complete the row cover!
I HIGHLY recommend using row covers to keep out Asparagus Beetles. You can read more about row covers in this post I wrote last year:Using Winter Row Covers

Unfortunately I hand-picked at least 20 beetles off the plants each day last year and that was frustrating.  Asparagus Beetles can damage your plants and affect production.  This year I made the row cover taller so it can stay on all year and then we can keep the Asparagus Beetles (see below) from the plants!

COMPANION PLANTING:
I also plant Parsley in the front of the Asparagus bed.  It helps with plant vigor and I was amazed at how well the Parsley produced at the same time!  I harvested the Parsley five times last year.  We start our Parsley indoors from seed and then transplant them in the garden.  They may look like tiny seedlings but they take off fast!
Parsley seedlings (2014)
Parsley growing well in Asparagus bed (last year 2013)
So far we have Garlic, Onions, Lettuce, Parsley & Asparagus growing in the garden.  Good thing these are all cold weather crops.  Just in case I covered the beds with row covers and I am certainly glad because I woke up to find snow on the garden this morning! 

2.10.2014

Seven Vegetable Tortellini Soup (in a Slow Cooker)


Cold. Cold. Cold.  It was 4 degrees outside today and comfort food was the perfect solution to warm our spirits.  This soup has 7 different vegetables and is healthy and delicious! 

Its also a fun soup for our little one to help me make.  I would cut up the vegetables then put them on the plate which he added to the bowl.  Enjoy making this soup and keep in mind you can add or delete vegetables to make it your own.   

Butternut Squash, Zucchini, Carrots, Asparagus, Scallions, Spinach & Tomatoes

Seven Vegetable Tortellini Soup           
Makes 6 to 7 servings

Ingredients:
1 Butternut Squash- cut into 1 inch cubes
2 small Zucchini- cut into 1 inch cubes
4 Carrots
1 bunch of Asparagus
1 bunch of Scallions
5 oz of fresh Spinach 
Canned Diced Tomatoes (or fresh)

1 tsp. Italian seasoning
1/4 tsp. garlic salt 

1 package (9 oz) of Cheese Tortellini
3 Tbsp. grated Parmesan cheese
3 (32 oz) low sodium Chicken Broth or Vegetable Broth

NOTE: If there is a vegetable you don't eat you can just leave it out of the soup!  You can also make it gluten free by leaving out the Tortellini.  


Tortellini, Chicken Broth, Diced Tomatoes and Spices

Instructions:
1.  Wash, peel and cut Carrots, Zucchini and Butternut Squash and add to slow cooker.  (For how to cut Butternut Squash see the end of this post).  Add cut Asparagus and Scallions to slow cooker.


11.08.2013

Fall Beauty

 He changes times and seasons; he removes kings and sets up kings; he gives wisdom to the wise and knowledge to those who have understanding    
Daniel 2:21 ESV

Fall is my second favorite season of the year.  Everywhere I look the ground and trees are an array leaves in colorful tones of reds, oranges, yellows and brown.   I love that every leaf is unique in the color pattern that it displays.  

As we go through this next season I find that there are many new mountains to climb in my life and I find the same in many of my friends and families lives.  I am thankful that above all else God is faithful for there is a promise that spring will return once again. 


This week there were a couple of items that I finished up in the garden that I wanted to share with you.  We also have decided to try and grow some garlic during this fall and winter.  Read below to find out the details!   

6.20.2013

June 20th Update

I have been checking on the garden in the morning and again in the evening.  This is the time of year that the Squash Vine Borer attack so I am watching closely.  We had to remove our row covers because the plants were outgrowing them (and some plants need to be pollinated by bees).  We had no idea that everything would get so big so fast.  We did make a taller row cover for BED #2 (which you can see below in the picture).  This is an experiment so we will see if it works.   
For reference BED #1 (Asparagus) starts on the left.
Evidence that my little helper has been digging in the dirt!
Zinnias are just starting to bloom!
Tomato plants on deck.
BED# 1- (pictured below) Asparagus, Parsley, Tomatoes (just planted) & Basil (just planted).


Baby Tomato plants & Basil plants (just planted after removing Peas)


Asparagus are very happy.  Next year we can start harvesting them.  
For the first year we just let them fern out.
My amazing Asparagus Beetle catcher!
Each day I check for Asparagus Beetles and I find them on the plants!  I use the glass jar pictured above and I have it filled with water and some liquid dish soap.  I find the beetle put the jar under it and knock it in.  This is much easier than trying to get them with your fingers. 

BED# 2- (pictured below) Cauliflower, Broccoli, Corn, Pole Beans & Winter Squash.


Help the Cauliflower & Broccoli are falling out of the beds!


Our first sign of Broccoli!
I made a mistake by planting the Winter Squash plants that I had already started indoors with the corn and beans.  We were trying to do the 3 Sisters Iroquois tradition but I wasn't patient and planted the Squash before the corn and beans.  I had to add cages to the Squash so it wouldn't take over.  This will be interesting!
More detail of Squash, Corn & Beans

 CENTER OF GARDEN- (pictured below) Two Watermelon plants.  This is our first year to try them.
Growing in ground between BED #2 & #3

BED# 3- (pictured below) Onions, Carrots, Bush Beans & Summer Squash.
This bed is out of control!
(Next year we need to pick some of the Onions earlier so they don't overtake the Carrots)
Onion blooming??
(3) Summer Squash in back of BED #3

 BED# 4- (pictured below) Bush Zucchini, Peppers, Eggplant & Cucumbers.


Female bloom on Zucchini


The Zucchini are happy!

6.08.2013

Garden Update- June 8th

Everything is continuing to grow in the garden.  It is amazing how quickly the plants mature at this point.   We were able to harvest our first peas today and one Zucchini has a flower! 
Front Beneficial Flower Bed
BED# 1- (pictured below) Peas, Asparagus & Parsley


Peas ready to pick!  They should be harvested every 1 to 3 days to get peak quality.  Today we picked about 1 cup of peas and then put them in the freezer.  You can also eat them right away or store them in the refrigerator.

Caterpillar of Monarch Butterfly (munching on our Parsley)
BED# 2- (pictured below) 
Broccoli, Cauliflower, (3 Sisters: Corn, Winter Squash & Pole Beans) Peas.


Plants have almost outgrown the Row Cover
BED# 3- (pictured below) 
Onions, Carrots, Bush Beans and Summer Squash


BED# 4- (pictured below) 
Zucchini, Peppers, Eggplant and Cucumbers.
Front left Zucchini is starting to flower!