Showing posts with label Asparagus Beetles. Show all posts

7.28.2014

Harvest Totals July 28th

August is going to be very busy for us so I wanted to make sure to post an update on the garden before things become hectic!  Although this has been a very cool and wet summer we have still had success in the garden.  Some plants have struggled (tomatoes, cucumbers and onions) but overall things have gone well.   
 From the fruit of their lips people are filled with good things, and the work of their hands brings them reward.  Proverbs 12:14 
Below are some harvest totals up to this point: 
Flowers in full bloom
I have loved looking out at the flowers which border either side of the garden gate.  This year I tried new types of Sunflowers and Zinnias and I love picking some of the flowers to bring indoors in arrangements. The textures and colors "pop" when they are up close and inside.


This year I have had the same pests and issues as last year (sad to say).  However, I haven't been able to get out into the garden everyday to try and prevent problems so I am half to blame.  I also discovered that the Asparagus Beetles overwintered in the soil so I couldn't have prevented them from coming back.  Cucumber Beetles have wilted the vines on the Cucumbers again and I find them to be very challenging pests to eliminate.
Ladybug (a beneficial insect!)
The Squash Vine Borer (SVB) has attacked again this year. So far I have noticed that only 1 Zucchini plant has been affected.  I noticed a sawdust like substance which is called "frass" around the base of the stem.  At that point the plant is infested with the larva and they are eating the inside of the stem.  I pulled up the plant and split the stem to find the pests munching away!  Then it was time to throw the plant and pests in the trash. 
Squash Vine Borer Larva
Despite the pests this year has still been a wonderful year in the garden.  There are 3 more Zucchini plants that are producing!  The Summer Squash are also happy and so far we have picked 3 colanders full of green beans.  There are 9 Tomato plants in BED #2 that have lots of green tomatoes!  We have been harvesting the red tomatoes on the deck and okra.  The harvesting is far from over.
I have especially loved the Sunflowers this year and so have the yellow finches!  The one below almost appears to be artificial but its real!

7.05.2014

July 4th Garden Update


 This has to be my favorite month of the year in the garden!  The flowers are blooming, some vegetables are ready to eat (with more to come) and everything looks good!  

When I am cooking or doing dishes in the kitchen I love to look out and see the garden. Especially now with the Zinnias and Sunflowers starting to bloom in the 2 front beneficial flower beds.  Zinnias are great flowers to grow and they come in an array of beautiful bright colors. This year I tried several different kinds (more details below).
Beneficial flowers starting to bloom!  


The beneficial flower beds are not just for looks.  They bring good bugs to the garden (especially bees).  Check out a previous post of mine called:Attracting Beneficial Insects for more tips on this!

Zinnia- Senora
Zinnia Senora: Eye-catching 3" double blooms feature the unique color of salmon pink. 

Blooms all season 
(summer to fall)

36" height
Zinnia- Envy
Zinnia Envy:
Vigorous plants produce spectacular 2-3 flowers in the rarest of colors, chartreuse. 

Many bright 2-3" blooms

30" height

Zinnia- Purple Prince
Zinnia Purple Prince:
Intense, rosy purple, large flowers. 

Blooms for 10 weeks

36" height

Sunflower- Italian White
Sunflower Italian White: An abundance of 4" creamy white to yellow blooms form on multi-branching plants.

Blooms all season 
(summer to fall)
5' height


We also added a new flower bed around our Red Bud tree.  Next year we hope to make the bed even bigger (back to the tree line).  The more flowers you have the more bees will come to your garden!  I should add that I started both the Coleus and some of the Inpatients from seed indoors. 
Red Bud tree with Inpatients, Coleus, Ferns & Hostas
PESTS: Every year there are bad bugs in the garden!  We garden organically so I don't spray our plants with pesticides. I expect that some plants are going to be a loss and we do our best to get the plants as healthy as possible before we remove our row covers (which protect them from bugs) until they need to be pollinated.  So far this season we have been battling 3 different types of Beetles:

6.16.2014

Unveiling the Raised Beds

I found the first bloom of the season on a Zucchini plant.  That meant it was time to remove the row covers.  Unless I have time to hand pollinate them (which I don't) the bees need to be able to get to the plants for pollination.  At this point the plants are healthy and mature enough to handle most of the pests that will come along.  So let the unveiling begin!
All four beds in a row.  Plants are happy and healthy!
Flowers are growing fast in the 2 front beneficial garden beds. Blooms to come soon!
BED #1- Parsley, Asparagus & Summer Squash
I have kept the row cover on the Asparagus bed because they don't need to be pollinated.  Its also challenging to hand pick all the Asparagus Beetles that land on these plants.  Unfortunately I discovered that the Asparagus Beetles overwinter in the soil so I am already battling them. I have to admit I am disappointed that this has happened again this year.  I have tried dusting them with bone meal as well as spraying them with a homemade garlic spray.  I still find about 10-15 per day on the plants.
Asparagus Beetle on Asparagus plant
BED #2- Zucchini, Lettuce, Onions, Tomatoes, Okra & Cucumbers

4.15.2014

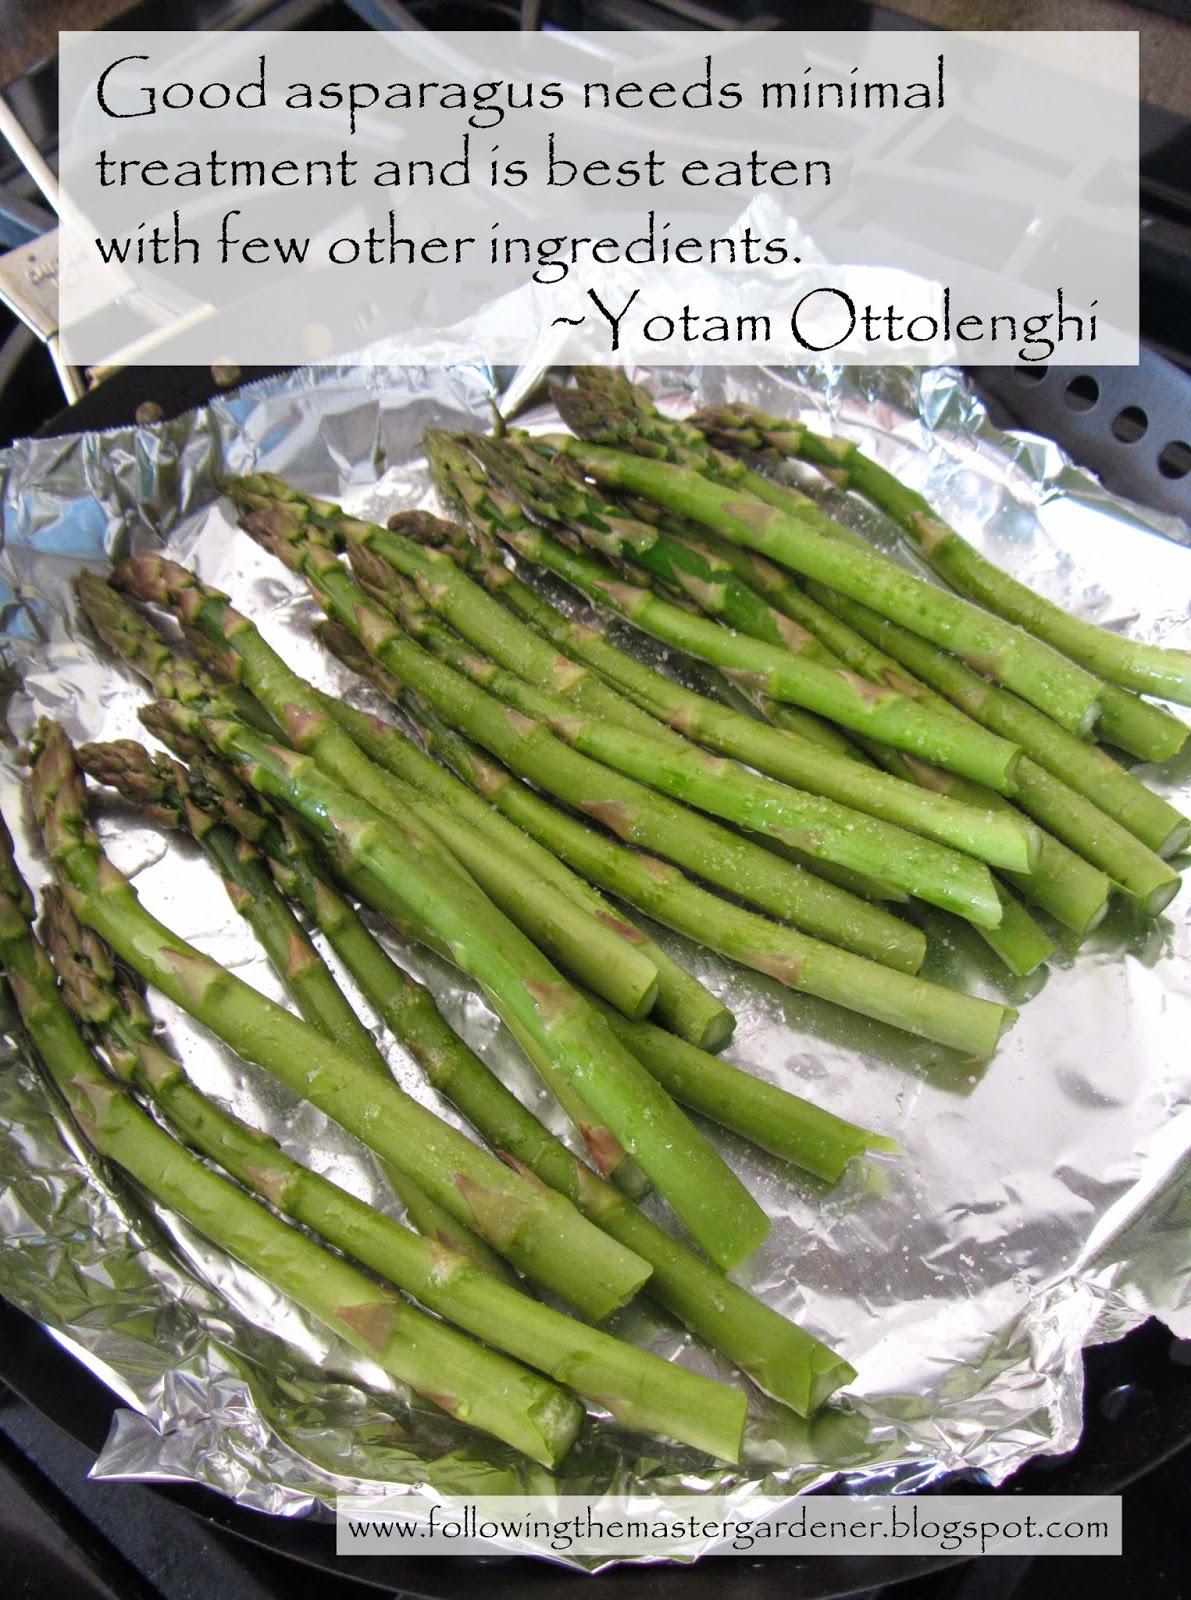
Everything Asparagus


Asparagus has been grown for thousands of years.  The Macedonians were the first to use it domestically around 200 B.C.  It is a good source of potassium, fiber, vitamin B6, vitamins A and C, thiamin and is a nutrient-dense food high in Folic Acid. 

Out of all the vegetables we have grown Asparagus has the most interesting story. For instance did you know that if you plant Asparagus properly they can produce for 15 to 20 years!  You can even grow white asparagus by simply mounding soil over your spears so they grow in the absence of sunlight.  The chlorophyll doesn't have the ability to develop so your spears stay white!  (Pictured below)
This years Asparagus spears (white in color from being covered over the winter) starting to emerge

We love to eat Asparagus so last year we decided to dedicate one of our raised beds to growing Asparagus.  They love well drained conditions and rich soil so a raised bed is ideal.    

We chose to grow Jersey Supreme which are all male cultivars known to produce 25-30% times more than conventional cultivars.  (Female plants spend lots of energy producing berries and seeds so they bear less spears). We ordered (25) certified disease free 1 year old crowns through Gardener's Supply to add to the (4) we had from a previous year.  It is said that 25 crowns are adequate for 2 people. 
Asparagus starting to grow
(May 7th of last year)
HARVESTING:
Year One: Asparagus should not be harvested the first year after you plant them.  They need all their energy to develop a healthy crown during the first season.  You can see below that last year we left them alone.  They look almost fern like when they grow.  


Asparagus with "fern" growth 
(May 25th of last year)
Year Two: Some research suggests you can harvest them for 2 weeks the second year. Picking 2 or 3 of the thickest spears from each crown. Others suggest waiting until the third year. 
Year Three: Harvest all spears for 4 weeks. 
Year Four: Harvest for as 8 to 12 weeks.  Stop harvesting when half of the spears are less than the thickness of a pencil. 

TIPS FOR PLANTING:
1. Plant as soon as you purchase them.  In 50 degree soil in the Spring.  Dig a 6" trench and add a high phosphate fertilizer (we used bone-meal).  
2. Plant (1) per 12 x 12 square. Laying the crowns up and covering with 2 inches of soil. 
3. Allow the fern to grow all season keeping the plants well watered. Cut to 12" tall when ferns die naturally in the fall.   

MAINTENANCE:
1. The year after planting cut the old ferns to the ground.  Add lime and 5-10-10 per 100 sq. feet.  

Lime added to bed this year
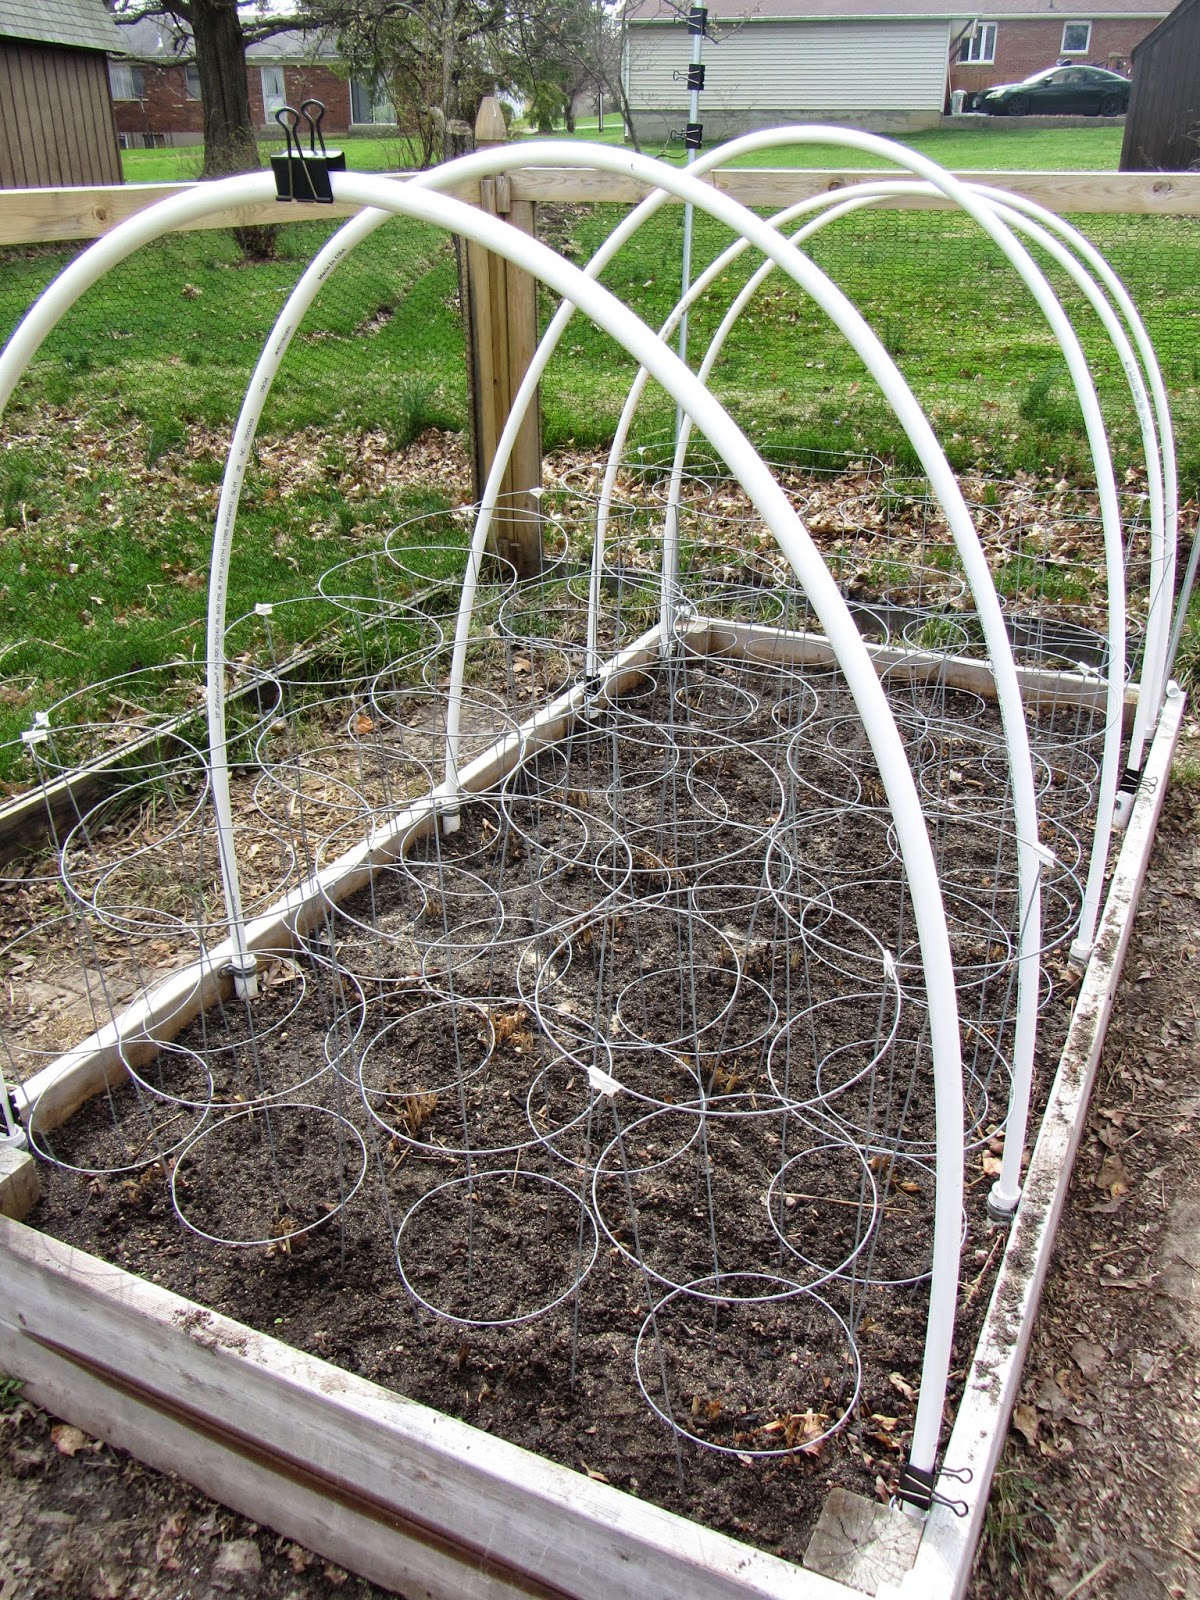
2. We add tomato cages over each crown to help contain the Asparagus ferns.  
Adding tomato cages
3. Then I add the PVC hoops for our row covers.  
Adding PVC hoops to bed

4. Last I put on the row cover fabric. 
Adding the Summerweight Fabric to the PVC hoops to complete the row cover!
I HIGHLY recommend using row covers to keep out Asparagus Beetles. You can read more about row covers in this post I wrote last year:Using Winter Row Covers

Unfortunately I hand-picked at least 20 beetles off the plants each day last year and that was frustrating.  Asparagus Beetles can damage your plants and affect production.  This year I made the row cover taller so it can stay on all year and then we can keep the Asparagus Beetles (see below) from the plants!

COMPANION PLANTING:
I also plant Parsley in the front of the Asparagus bed.  It helps with plant vigor and I was amazed at how well the Parsley produced at the same time!  I harvested the Parsley five times last year.  We start our Parsley indoors from seed and then transplant them in the garden.  They may look like tiny seedlings but they take off fast!
Parsley seedlings (2014)
Parsley growing well in Asparagus bed (last year 2013)
So far we have Garlic, Onions, Lettuce, Parsley & Asparagus growing in the garden.  Good thing these are all cold weather crops.  Just in case I covered the beds with row covers and I am certainly glad because I woke up to find snow on the garden this morning! 

7.16.2013

Relinquishing Control

He covers the sky with clouds; he supplies the earth with rain and makes grass grow on the hills.  He provides food for the cattle and for the young ravens when they call. 
His pleasure is not in the strength of the horse, nor his delight in the legs of man; the Lord delights in those who fear him, who put their hope in his unfailing love.   
Psalm 147:10 & 11
There are so many times when I attempt to control things in my life.  I have recognized this tendency and everyday I am working to give my day and schedule up to God.  I read the verse above today at lunch and it reminded me of how I still have areas that I need to remember to trust God with.

Gardening has really taught me this life lesson in a tangible way.  Everyday when I walk out into the garden I see how things have grown and changed and how little I can ultimately do to control the plants outcome.  Yes my family and I take care of the plants to the best of our ability but there are so many other things that we just can't control.  

Growing plants is also work.  One can't expect to just put a seed in the ground and walk away.  You have to take care of the plants and monitor them.  You could read all the gardening books in the world and you would still learn that its the actual daily experience of working with the garden that teaches you the most.   It is the same with our lives.

If you are reading these posts my hope is that you would be encouraged.  I have very little actual experience up to this point in the garden.  My goal is to share with you our successes and also our failures so that you can learn along with us.  Along the way I will share truth that has transformed my life.   May you find it to be authentic.

7.06.2013

Garden Challenges

All gardens have their challenges.  From year to year you learn from experience.  It really parallels with life.  No matter what anyone says problems and issues will arise.  You have to learn that this is part of having a garden.  

You can most certainly be successful and really enjoy the process but first you have to learn to relinquish control.  If you want every plant to be perfect and nothing to go wrong then I suggest not attempting in the first place.  If you are up for the challenge and want to learn from the challenges and rise above them then you won't be disappointed.

In the last week we have started to see some "challenges" in our garden.  Below I am going to share with you our reality!  

CHALLENGE #1: RABBITS in the beneficial flower beds
Rabbit appearing to be innocent
Two years ago rabbits invaded our plastic chicken wire fence and attacked our carrots.  This year however, they can't get into the main part of the garden.  However, they have been chewing away at the beneficial flowers in the front of the garden! 

LESSON LEARNED: Next year the support wire for the Zinnias needs to go all the way around the 2 beneficial flower beds so they can't get in!

Beneficial flowers in front of garden
 CHALLENGE #2: JAPANESE BEETLES in the beneficial flower beds
Japanese beetles on Zinnias
Damage to leaves from Japanese Beetles
The Japanese Beetles are alive and well.  They have been eating the leaves of the Zinnias.  They basically eat all the foliage on your plants and you just find slivers of leaves.  I look for them and when I find them I pick them off and smash them. 

LESSON LEARNED: Next year I want to try to plant some more natural repellents for these pests which include: catnip, chives, garlic and tansy.
  
CHALLENGE #3: ASPARAGUS BEETLES continue to attack!
Asparagus Beetle Larvae
This year the Asparagus Beetles have been on the plants daily.  I find at least 2 or 3 of the adult beetles and then 10 or so of the larvae.  Its a daily battle that is really getting tedious.  

LESSON LEARNED: Next year we will make the row covers taller and keep them on the Asparagus all season! 

CHALLENGE #4: POWDERY MILDEW
Powdery Mildew on Zucchini leaves
Powdery Mildew has already attacked the Zucchini leaves!  Last year it got the Summer Squash before I knew what it was.  This year I should have taken more preventative measures.  However, now I can only try to keep it minimized.  It won't go away at this point but maybe we can keep it from spreading.

I am going to try a solution of 1 tsp. baking soda to 1 quart of water.  Then I will spray it on the leaves.  The baking soda is supposed to raise the PH which creates an environment that Powdery Mildew doesn't enjoy.

LESSON LEARNED:  Next year I am going to be preventative and spray the leaves with the baking soda solution BEFORE this happens!

CHALLENGE #5: Inadequately pollinated Winter Squash
Inadequately pollinated Burgess Squash
Inadequately pollinated Butternut Squash
I have been trying to hand pollinate some of our squash this year.  This is because last year I noticed that some of the baby squash started to form and then turned yellow and were brown on the end and dropped off the vine.  I thought maybe they just had some disease, however when I researched I found out this was not the case!

When I researched this I found that it was because more than one bee visit needs to happen to each fruit in order for the fruit to have enough pollen to properly form.  So these inadequately pollinated squash have had at least 1 bee visit but they are not getting the extra visit!  

I have read that there has been a decline in pollinators in recent years and this has been a common complaint of gardeners.   I was hoping that when we planted the beneficial flowers that they would draw more bees to the garden.  I know that I have seen more bees than in the past, however somehow they are still missing some of our squash!

LESSON LEARNED: I have tried (sort of) to get up early and hand pollinate.  I have only been successful a few times (with getting up early that is).  Next year (or this week) I have to wake up early every morning for a couple of weeks when the Squash flowers open up.

KEY POINT: (I just learned this) they only open in the morning and stay open for one day! Its important to hand pollinate as soon as you can after the flowers open up. 

POSITIVE NOTE:
Onions, Parsley, Broccoli, Basil and Zucchini
I continue to find it very worthwhile and fun to garden!  To end on a more positive note that same day I was able to harvest all of the vegetables above to use on July 4th for our cookout!  We enjoyed it all and its amazing how good vegetables taste fresh from the garden to your table.