Showing posts with label Harvest. Show all posts

7.28.2014

Harvest Totals July 28th

August is going to be very busy for us so I wanted to make sure to post an update on the garden before things become hectic!  Although this has been a very cool and wet summer we have still had success in the garden.  Some plants have struggled (tomatoes, cucumbers and onions) but overall things have gone well.   
 From the fruit of their lips people are filled with good things, and the work of their hands brings them reward.  Proverbs 12:14 
Below are some harvest totals up to this point: 
Flowers in full bloom
I have loved looking out at the flowers which border either side of the garden gate.  This year I tried new types of Sunflowers and Zinnias and I love picking some of the flowers to bring indoors in arrangements. The textures and colors "pop" when they are up close and inside.


This year I have had the same pests and issues as last year (sad to say).  However, I haven't been able to get out into the garden everyday to try and prevent problems so I am half to blame.  I also discovered that the Asparagus Beetles overwintered in the soil so I couldn't have prevented them from coming back.  Cucumber Beetles have wilted the vines on the Cucumbers again and I find them to be very challenging pests to eliminate.
Ladybug (a beneficial insect!)
The Squash Vine Borer (SVB) has attacked again this year. So far I have noticed that only 1 Zucchini plant has been affected.  I noticed a sawdust like substance which is called "frass" around the base of the stem.  At that point the plant is infested with the larva and they are eating the inside of the stem.  I pulled up the plant and split the stem to find the pests munching away!  Then it was time to throw the plant and pests in the trash. 
Squash Vine Borer Larva
Despite the pests this year has still been a wonderful year in the garden.  There are 3 more Zucchini plants that are producing!  The Summer Squash are also happy and so far we have picked 3 colanders full of green beans.  There are 9 Tomato plants in BED #2 that have lots of green tomatoes!  We have been harvesting the red tomatoes on the deck and okra.  The harvesting is far from over.
I have especially loved the Sunflowers this year and so have the yellow finches!  The one below almost appears to be artificial but its real!

6.28.2014

Harvesting Garlic


If there is one type of vegetable that I would highly recommend growing (because its easy) it would be garlic.  You plant it in the fall and then simply harvest it in the summer. Its low maintenance and virtually pest and disease free.  We have decided garlic is a new staple in our garden.  

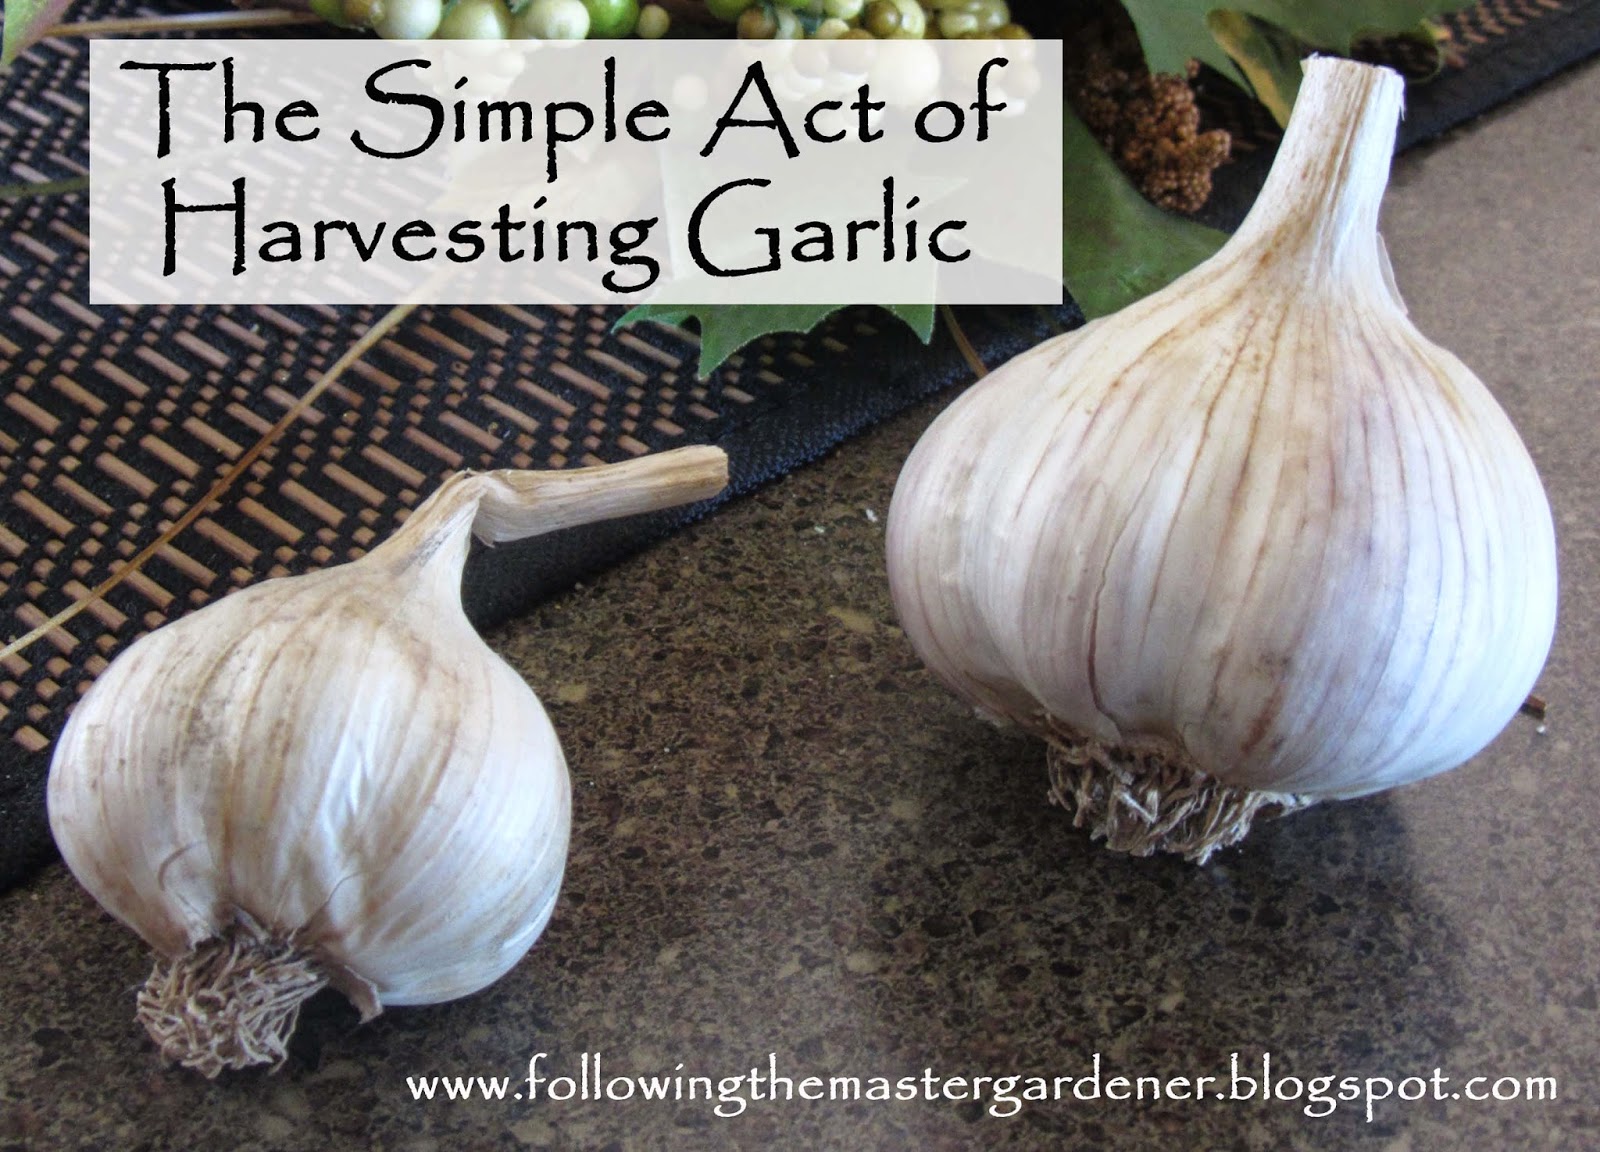
This was our first year growing 2 different types: Tochilavri (soft neck) and German White (hard neck).  We planted the cloves from the 2 bulbs in the above picture and they produced 21 bulbs of garlic! They were planted in the fall on November 16th, 2013.  The trickiest part of growing garlic is knowing exactly when to harvest!  But have no fear we were successful with harvesting this year.  Here are my tips on harvesting:  
"ochilavri" GarlicPlanting Garlic
Lower leaves turning brown: ready to harvest!
The ideal time to harvest is when 6 or so leaves on the top of the garlic are still green and some of the lower leaves are brown.  A couple of weeks ago the lower leaves of our garlic started turning brown.  Its time to harvest!  
BED #4 Garlic, Lettuce, Onions and Summer Squash
 To prepare for harvesting the garlic needs to have time to dry out and cure.  In order for this to happen stop watering a couple of weeks early (and if it rains wait a week before harvesting).

HARVESTING GARLIC:
STEP 1: Loosen the soil around the bulb using a fork or your hand.  The soil will be fairly compacted so be careful not to damage the bulbs.  Also make sure not to pull on the stems. Carefully lift out the bulbs with your hands and brush off any soil that remains. 
Carefully removing soil around garlic bulb
STEP 2: Make sure to leave the stalks and roots on the bulbs. 
Roots left on bulb for storage
STEP 3: Get the bulbs out of the sun right away. Select a well-ventilated room or dry shaded spot outside (in the shade) and allow the bulbs to cure.  The location should be airy, dry and have some air circulation.  

NOTE: We put down plastic garbage bags under our rug on the deck (to stop rain from coming through the deck onto the garlic below) then hung a PVC pipe under the deck and hung the garlic.  One hour later the rain started pouring and I am happy to say the garlic stayed dry!
Our drying location (under our deck)
STEP 4: Now the waiting begins!  It takes about 3 to 8 weeks for the bulbs to cure.  When the wrappers are dry its time to prepare the bulbs for storage. 
The garlic a week later
 STEP 5: Cut off the tops to an inch above the bulbs and then trim the roots to about 1 inch.  (Do not wash the bulbs).  Remove just the dirtiest layers of the wrappers around the garlic. (Remember the wrapping protects the garlic).
HOW TO STORE GARLIC: 
STEP 6: Store in mesh (net bags) in a location that is cool and dry.  The ideal temperature is 35-50 degrees F.  Some air circulation is also helpful.

Softneck Garlic: Can be stored for 6 to 8 months.  Just make sure its not sprouting or soft.

Hardneck Garlic: Lasts for 2 to 4 months.  If it goes soft, dry or sprouts it has already begun to deteriorate.  If possible keep this variety at 32 degrees F for longer storage. 
Cloves we planted in November 2013. 

Finally keep the best bulbs for replanting in the fall.  Plant around October or November and then enjoy your own garlic harvest in the summer. For details on planting garlic see my previous post: Planting Garlic

9.11.2013

Humbled by The Master

I have to admit at the end of August I had given up on the garden.  I had decided that it was time to start cleaning out the raised beds.
The garden on Aug. 23rd (before I pulled up the left flower bed)
Two weeks ago I could tell that the Bush Beans were through so I pulled up all the plants.  The left flower bed was also in bad shape so I pulled up all the Sunflower stalks and the wilted Zinnias.  I decided to leave the rest of the plants in the raised beds because I just couldn't bear pulling them up.  I glanced at the Eggplant and Peppers in the last bed and prematurely concluded that we had wasted our time starting them from seed and dedicating almost the entire bed to these plants. 
Bush Beans just before I cleaned out the bed


Eggplant first sign of fruit Aug 23rd
 I tend to have an optimistic personality, but I still have my days.  Lately I have been praying that God would help me trust Him more with my life.  I find that when a large amount of things turn out differently than I have planned and I can't understand it that my grip tightens on wanting control and an immediate solution.  I am not the best with waiting and feel the need to figure things out on my own.      

When things like this happen someone will usually say "God will never give you more than you can handle."  Well the truth is that this statement is not biblical and I am almost certain it doesn't provide reassurance to those with difficulties.  

The truth is: We will have trials in our lives that are larger and more difficult than we can handle alone on our own strength.  God will allow us to be stretched beyond our strength and human abilities to show us our need for Him, reminding us that His strength is limitless, and to deepen our faith.    


Red Pepper plant
When I focus on this truth then I am moved to focus on God and allow Him to be Lord over my life.  Then I can relinquish control.  

I walked out into the garden today and was reminded of this truth.  I had thought everything was "over" in the garden and that it was time to pull up more plants.  After ignoring the garden for the past week it seemed the end was inevitable. 

I found myself humbled when I discovered the garden was still very much alive.  The Pole Beans had bloomed and formed beans, the Summer Squash had produced again, and I found 3 Eggplant and 2 Peppers ready to pick!


Now I know that this garden harvest is not the solution to all my challenges.  But today for me personally, it was a reminder that God is in control of my life and that he provides amazing surprises. 

May you be encouraged by this verse:
Those who know your name will trust in you, for you Lord, have never forsaken those who you love.  Psalm 9:10

9.02.2013

Purple Tomato Seedlings & the Clay Pot

I have a large clay pot that was given to me when my mom no longer needed it.  The first year we moved to our house I decided to use it on our deck to grow some small yellow tomatoes.  Everyone who came over was amazed at how big the tomato plant was and how much it produced.  Flash forward.  This is the fourth year I have planted a tomato in this pot.  I don't know what the deal is but this pot was made to grow tomatoes!!   
The "Amazing" Tomato Pot

Next year I want to look around and see if I can find another large clay pot similar to this one.  All the tomatoes I have grown in this pot have tripled the size of the other tomatoes I have grown.   Last week I was able to harvest 13 tomatoes from the plant (with at least 4 to 5 more to come) and then make a yummy cold salad using some of the tomatoes.  Fresh tomatoes are incredible!
Fresh Mozzarella Tomato Salad with Basil from the Garden!
Beefsteak Tomatoes

8.14.2013

Sunflowers & Winter Squash Harvest

This past week I was able to harvest a variety of vegetables from the garden.  Winter Squash, Green Beans, Cucumbers, Summer Squash, Watermelon, Onions, Carrots & for the first time Sunflowers (for their edible seeds of course)!
Green Beans, Spaghetti Squash, Burgess Squash, Cucumbers & Summer Squash
How can you tell when to harvest Winter Squash?  The best way to tell is to push your nail in the squash.  It won't leave a visible dent if it is ripe.  You may also be able to tell when the vine starts to die and turn brown drying out (keep in mind this may also indicate that your plant has a disease, is under stress or early frost has caused this.)  

Cut the squash from the vine and leave about 3 inches of the stem.   Winter Squash can last in storage anywhere from a month up to 6 months (depending on the variety). 

Typical Shelf Life of Winter Squash:
1-2 Months: Acorn, Delicata and Spaghetti Squash
2-3 Months: Buttercup/Butternut & Pumpkins
5-6 Months: Buttercup and Hubbard

How to harvest Winter Squash properly to last in storage: 
1. Place the unwashed squash in a spot that is warm and sunny for around a week to two weeks.  
(NOTE: Don't do step 1 if you have Acorn Squash- move it to a cool location right away.)
2. Store them in a room that is cool and dry with good air circulation.  (Above 50 degrees F)


Watermelon ready to eat!
We have been amazed at the Sunflowers growing in the beneficial beds in front of our garden.  This is the first year that we have grown Sunflowers and they are incredibly beautiful.  We grew 2 different types: Summertime Mix (more for color and cutting) and Russian Mammoth (for their edible seeds).  See pictures and tips on drying Sunflower seeds below

Sunflower Summertime Mix F1 
(Helianthus Annuus) 
- mixture of colors
- good for mass planting and cutting gardens
-pollen free hybrid collection
-height 4'-5


Summertime Mix- beautiful red/orange color and light yellow flowers
Russian Mammoth Sunflowers 
(Girasol Mammoth Ruso)  
-9'-12' tall with 10'-14' flowers
-easy to grow heirloom
-gigantic single flower heads on stalks
-dry to produce thin-shelled edible seeds


We still can't believe how tall these Sunflowers are!  They are truly Mammoth in size.

Process for drying Sunflowers (indoors):

1. Harvest when wilted &  some yellow petals have fallen off. 
2.  Leave 3 inches of stem when cutting off head of Sunflower. 
3. Secure string around stem of flower. 
4. Hang Sunflowers upside down in warm dry area with good ventilation.
5. Check drying Sunflowers each day & collect seeds which have fallen off. 
(Seeds are dry & ready when the green part of the Sunflower is dark brown & dry).
6. Using your hand rub the top of the flower head & the seeds will come out. 
7. Rinse with cold water and drain.  
8. Allow to air dry for a couple of days on a towel. 
(If desired you can put them on a cookie sheet & toast in oven).
9. Store or eat your Sunflower seeds!

(IF DRYING OUTDOORS DO THE FOLLOWING): 
Do not cut off Sunflower heads.  Instead put them in brown paper bags and tie a string around the bottom of the stem to close the bag.  Continue to check each day.  When ready
cut the Sunflower off stalk leaving 10-12" of stem.  Leave paper bag on flower until it is cut off so you don't loose any seeds.  Continue above steps 6 through 9.


Sunflowers hanging in our garage to dry


Sunflower on the end is about ready for us to remove seeds.
Its now August and the vegetables in the garden are slowing down their production.  The weather has been unusually cool during these summer months.  We have really enjoyed being in the garden this spring and summer.  Its going to be hard to transition to fall this year.  Soon it will be time to clean up the garden and plant a cover crop for the winter.  Then in late fall and early winter it will be time to plan again for next year. 


I will miss the Zinnia flower arrangements in my kitchen this fall!
More to come next week with Garden Tour #2!