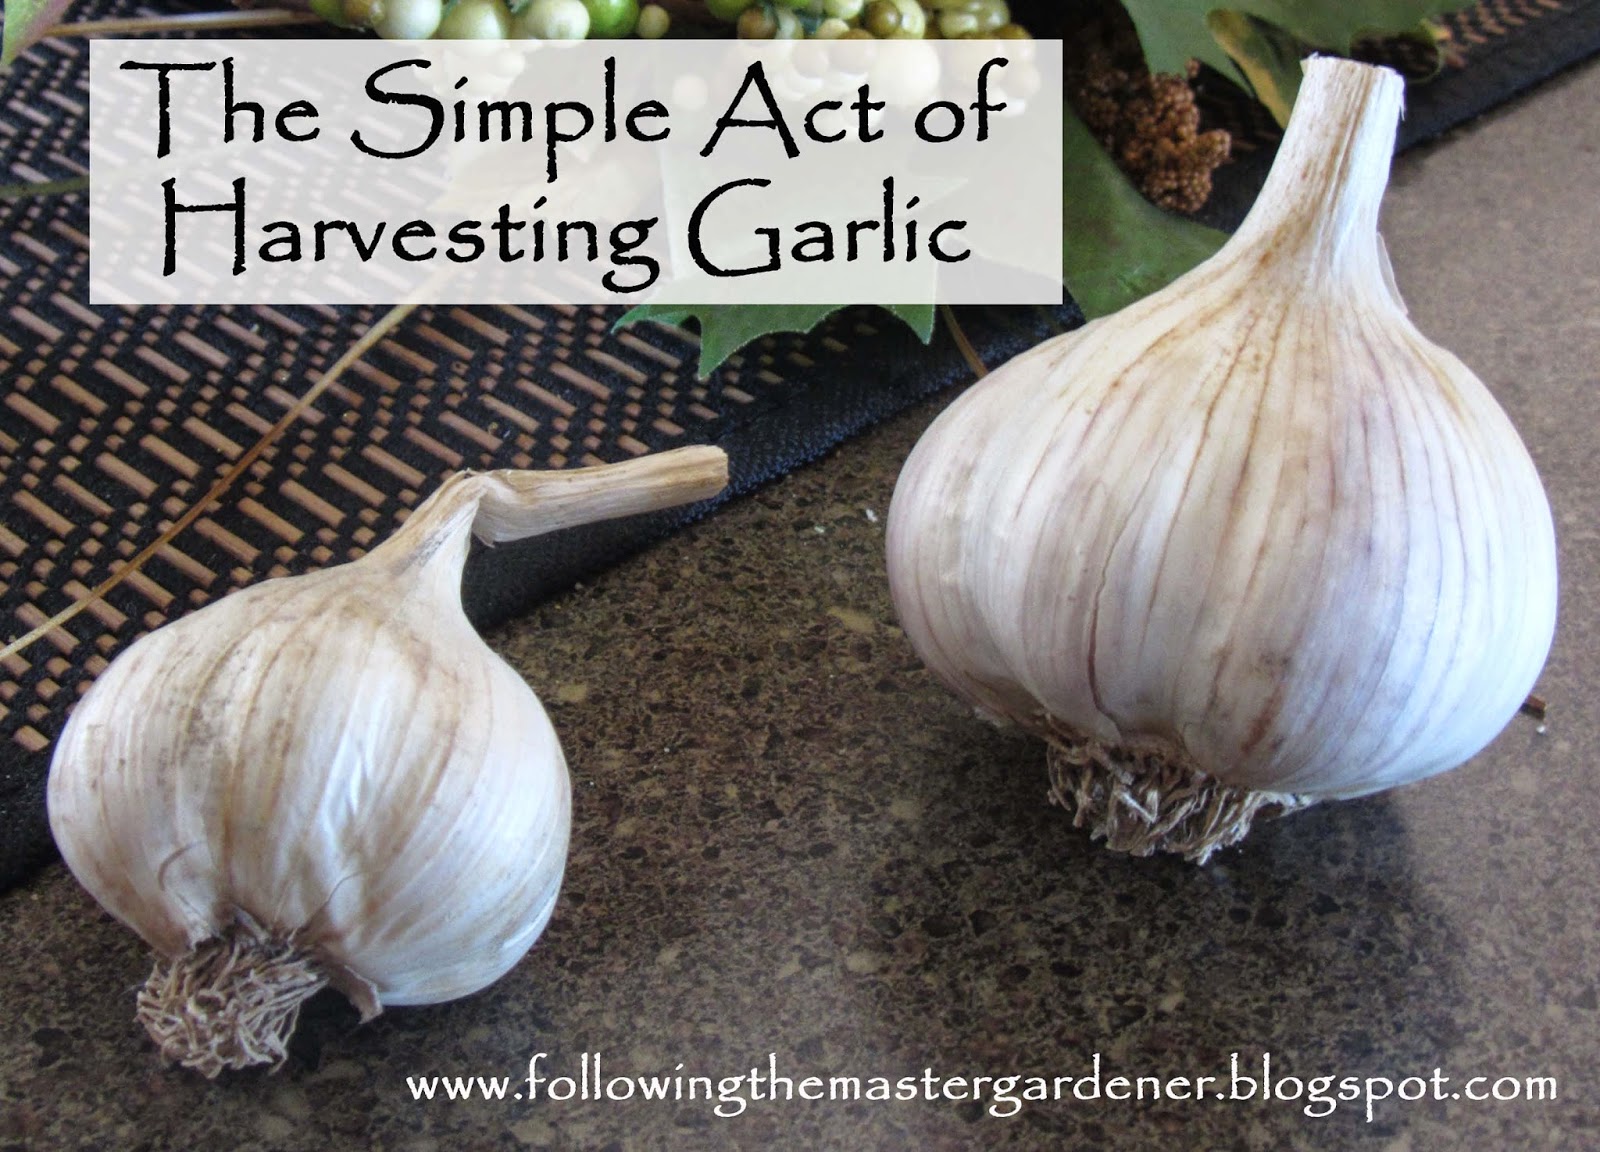
If there is one type of vegetable that I would highly recommend growing (because its easy) it would be garlic. You plant it in the fall and then simply harvest it in the summer. Its low maintenance and virtually pest and disease free. We have decided garlic is a new staple in our garden.
This was our first year growing 2 different types: Tochilavri (soft neck) and German White (hard neck). We planted the cloves from the 2 bulbs in the above picture and they produced 21 bulbs of garlic! They were planted in the fall on November 16th, 2013. The trickiest part of growing garlic is knowing exactly when to harvest! But have no fear we were successful with harvesting this year. Here are my tips on harvesting:
"ochilavri"
GarlicPlanting Garlic
 |
| Lower leaves turning brown: ready to harvest! |
 |
| BED #4 Garlic, Lettuce, Onions and Summer Squash |
HARVESTING GARLIC:
STEP 1: Loosen the soil around the bulb using a fork or your hand. The soil will be fairly compacted so be careful not to damage the bulbs. Also make sure not to pull on the stems. Carefully lift out the bulbs with your hands and brush off any soil that remains.
 |
| Carefully removing soil around garlic bulb |
 |
| Roots left on bulb for storage |
NOTE: We put down plastic garbage bags under our rug on the deck (to stop rain from coming through the deck onto the garlic below) then hung a PVC pipe under the deck and hung the garlic. One hour later the rain started pouring and I am happy to say the garlic stayed dry!
 |
| Our drying location (under our deck) |
 |
| The garlic a week later |
HOW TO STORE GARLIC:
STEP 6: Store in mesh (net bags) in a location that is cool and dry. The ideal temperature is 35-50 degrees F. Some air circulation is also helpful.
Softneck Garlic: Can be stored for 6 to 8 months. Just make sure its not sprouting or soft.
Hardneck Garlic: Lasts for 2 to 4 months. If it goes soft, dry or sprouts it has already begun to deteriorate. If possible keep this variety at 32 degrees F for longer storage. | |
| Cloves we planted in November 2013. |


No comments:
Post a Comment